Terrace Threshold Waterproofing & Drainage
Animate a fixed terrace-door threshold section from exposed slab to waterproofing, drainage, insulation, paving and a final rainwater test.
Start and end frames
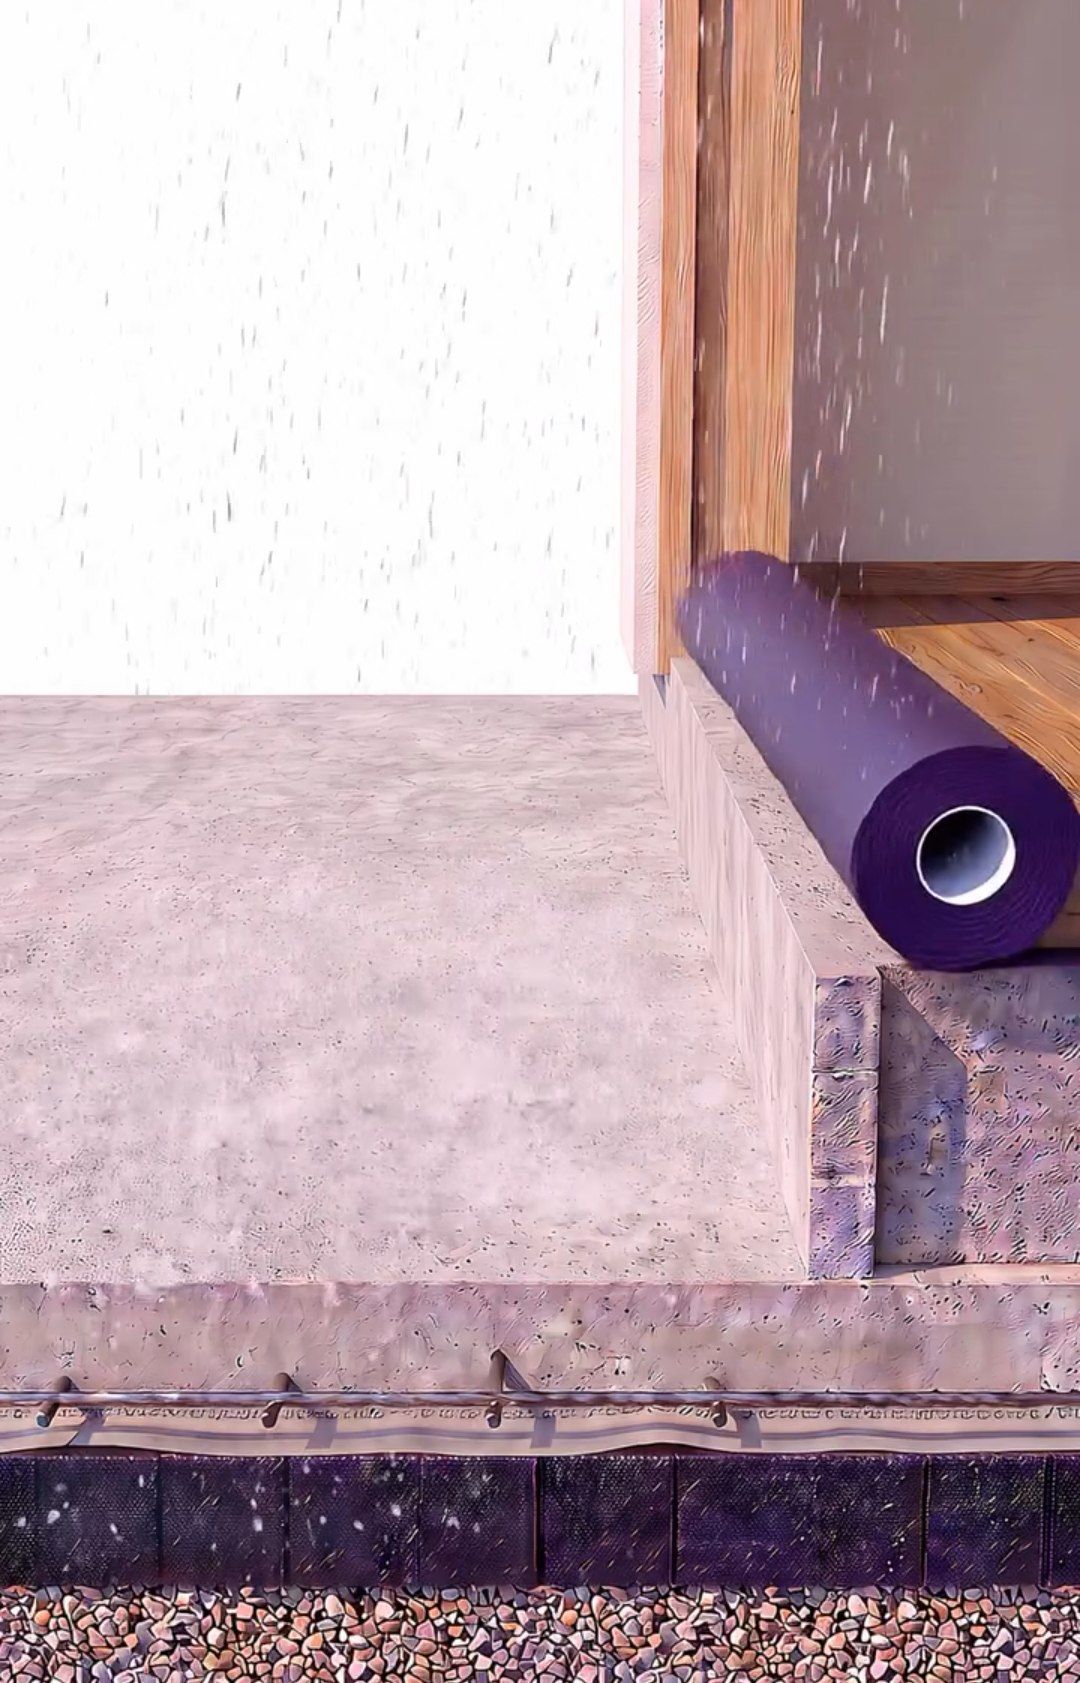
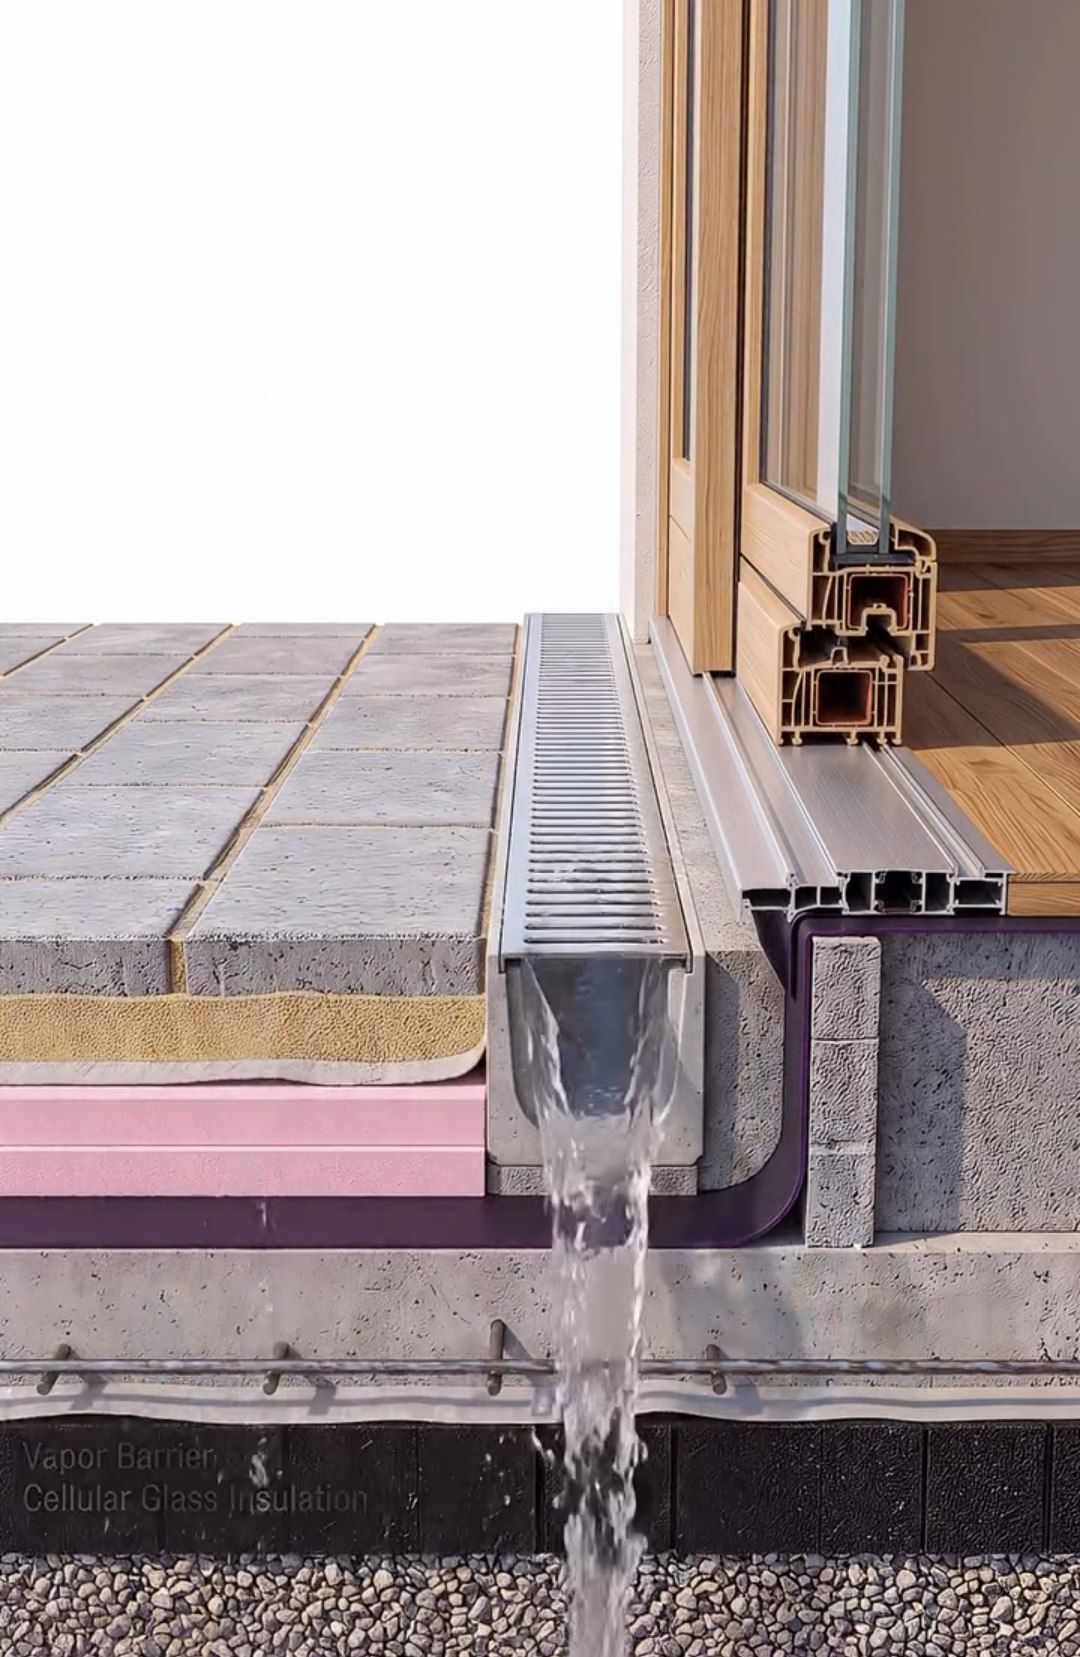
Free master prompt
If your browser blocks copying, select the complete text below.
Create one continuous photorealistic 3D architectural construction animation in a vertical 9:16 format, using the supplied Start Frame as the exact opening state and the supplied End Frame as the exact completed state and final visual target.

Show one fixed, close-up cross-section view of a terrace door threshold. Keep the camera completely still and preserve the exact same geometry, scale, perspective, door position, wall, slab build-up and lighting throughout the video. On the left is an outdoor terrace above a concrete slab; on the right is an interior room with a white wall, timber glazed door frame and warm wood flooring.

Begin with the exposed concrete slab shown in the Start Frame. Build the assembly clearly and physically, one step at a time: unroll a dark purple waterproof membrane across the outdoor slab and turn it upward against the door threshold; install a silver linear drainage channel with a metal grate directly beside the door; place rigid pink insulation boards over the waterproofed terrace; show realistic gloved hands laying a white separation fabric; pour and level a sand bedding layer; install neat grey stone paving slabs flush with the drainage channel.

Finish by closing the glazed timber door and demonstrating rainwater flowing across the paving into the linear drain and out through its outlet. Make the water path clearly visible, physically believable and consistent with the End Frame. Hold briefly on the complete cross-section so every layer and drainage relationship can be read.

Use precise architectural detailing, realistic material textures, clean studio lighting, natural construction movements, believable weight and contact, and smooth transitions between steps. The result should resemble a high-end architectural installation explainer.

STRICT CONTINUITY: preserve the supplied start and end geometry exactly. No camera movement, zoom, reframing, cuts, changing building shape, altered threshold dimensions, extra objects, distorted hands, floating materials, impossible assembly, logos, captions or narration. Add only subtle realistic construction and running-water sounds.
Production settings
One continuous 12-second video · vertical 9:16 · 720 × 1280 or higher · 24 fps · completely locked camera · Start Frame strength high · End Frame strength high · geometry lock high · motion strength medium-low · physically realistic water · final detail hold 1 second · no text, logos or narration.