Small Bathroom Design: Layout, Storage and Light in a Tiny Bathroom
Layout, storage, light and ventilation for bathrooms of 2–4 square metres: the decisions that make a tiny bathroom feel calm instead of cramped.
By World Arch Journal ·
Project file
- FORMAT: International architecture decision guide
- AUTHOR: World Arch Journal
- PUBLISHED: 25 October 2026
- ILLUSTRATIONS: 10 licensed photographs, each credited under its image
- SCOPE: Editorial guidance · project-specific assessment required
A tiny bathroom forgives nothing — and rewards everything. In two to four square metres, every centimetre is a decision: the door swing that steals a wall, the vanity that blocks the toilet, the shower screen that turns a room into a corridor. Get those decisions right and a bathroom barely larger than a cupboard can feel calm, bright and generous. Get them wrong and no amount of expensive tile will save it.
This guide works through the decisions in the order that matters, answering the questions homeowners actually ask before a refit: Which layout fits my room? Wet room or shower enclosure? Where does everything get stored? How do I keep it dry, bright and mould-free? It is written for rooms of roughly 2–4 square metres — the box rooms, en-suites and under-stair bathrooms found in flats and small houses — and it leans on the same plan-reading method as our companion guide to reading a floor plan: measure first, test the layout on paper, and only then choose finishes.
How do you measure a tiny bathroom before designing anything?
Every small-bathroom project should start with a tape measure, not a tile sample. Measure the room wall to wall in at least three places per wall — older walls are rarely straight — and note the ceiling height, the position and size of the window, the door opening and its swing, and the exact position of the soil pipe, water supply and waste runs. A scaled sketch, even a rough one on graph paper, will reveal more in ten minutes than an hour of browsing inspiration photographs, because it forces the room's real constraints into the open.
Three measurements govern almost everything that follows. First, the door zone: the arc the door sweeps, plus the space you need to step in, turn and close it behind you. Second, the clearances: enough room to stand at the basin, sit at the toilet and step into the shower without contorting — as a rule of thumb, keep at least 600 mm of clear floor in front of each fixture, and avoid any layout where two fixtures compete for the same patch of floor. Third, the waste positions: moving a toilet or shower drain across a room means cutting into floors, re-routing pipes and, in flats, negotiating with the structure below — often the single most expensive decision in the whole project, so design around the existing drains wherever the layout allows.
Which layout works: one-wall, galley or corner?
Most tiny bathrooms resolve into one of three layouts, and the room's shape usually picks for you. The one-wall layout lines all fixtures along a single wall, leaving the opposite wall and the floor in front of it completely clear. It suits long, narrow rooms and keeps plumbing runs short and cheap, since every waste and supply sits on one line. Its weakness is concentration: everything competes for one wall, so storage and the mirror must work hard, and a long one-wall room can feel like a corridor if the far end is not given a purpose.
The galley layout splits fixtures across two facing walls with a path between them — typically the basin and toilet on one side, the shower or bath on the other. It suits squarer rooms and gives each fixture its own wall, but it lives or dies on the width of the path: below about 900 mm the room feels cramped and two people cannot pass, and a door that opens into the path makes it worse. The corner layout tucks the shower or bath into a corner, freeing the remaining walls for basin, toilet and storage. It suits awkward, L-shaped or nearly square rooms, and a corner shower with a curved or angled entry can rescue a room that nothing else fits — at the cost of a slightly smaller shower footprint.
Wet room or separate shower: which suits a tiny bathroom?
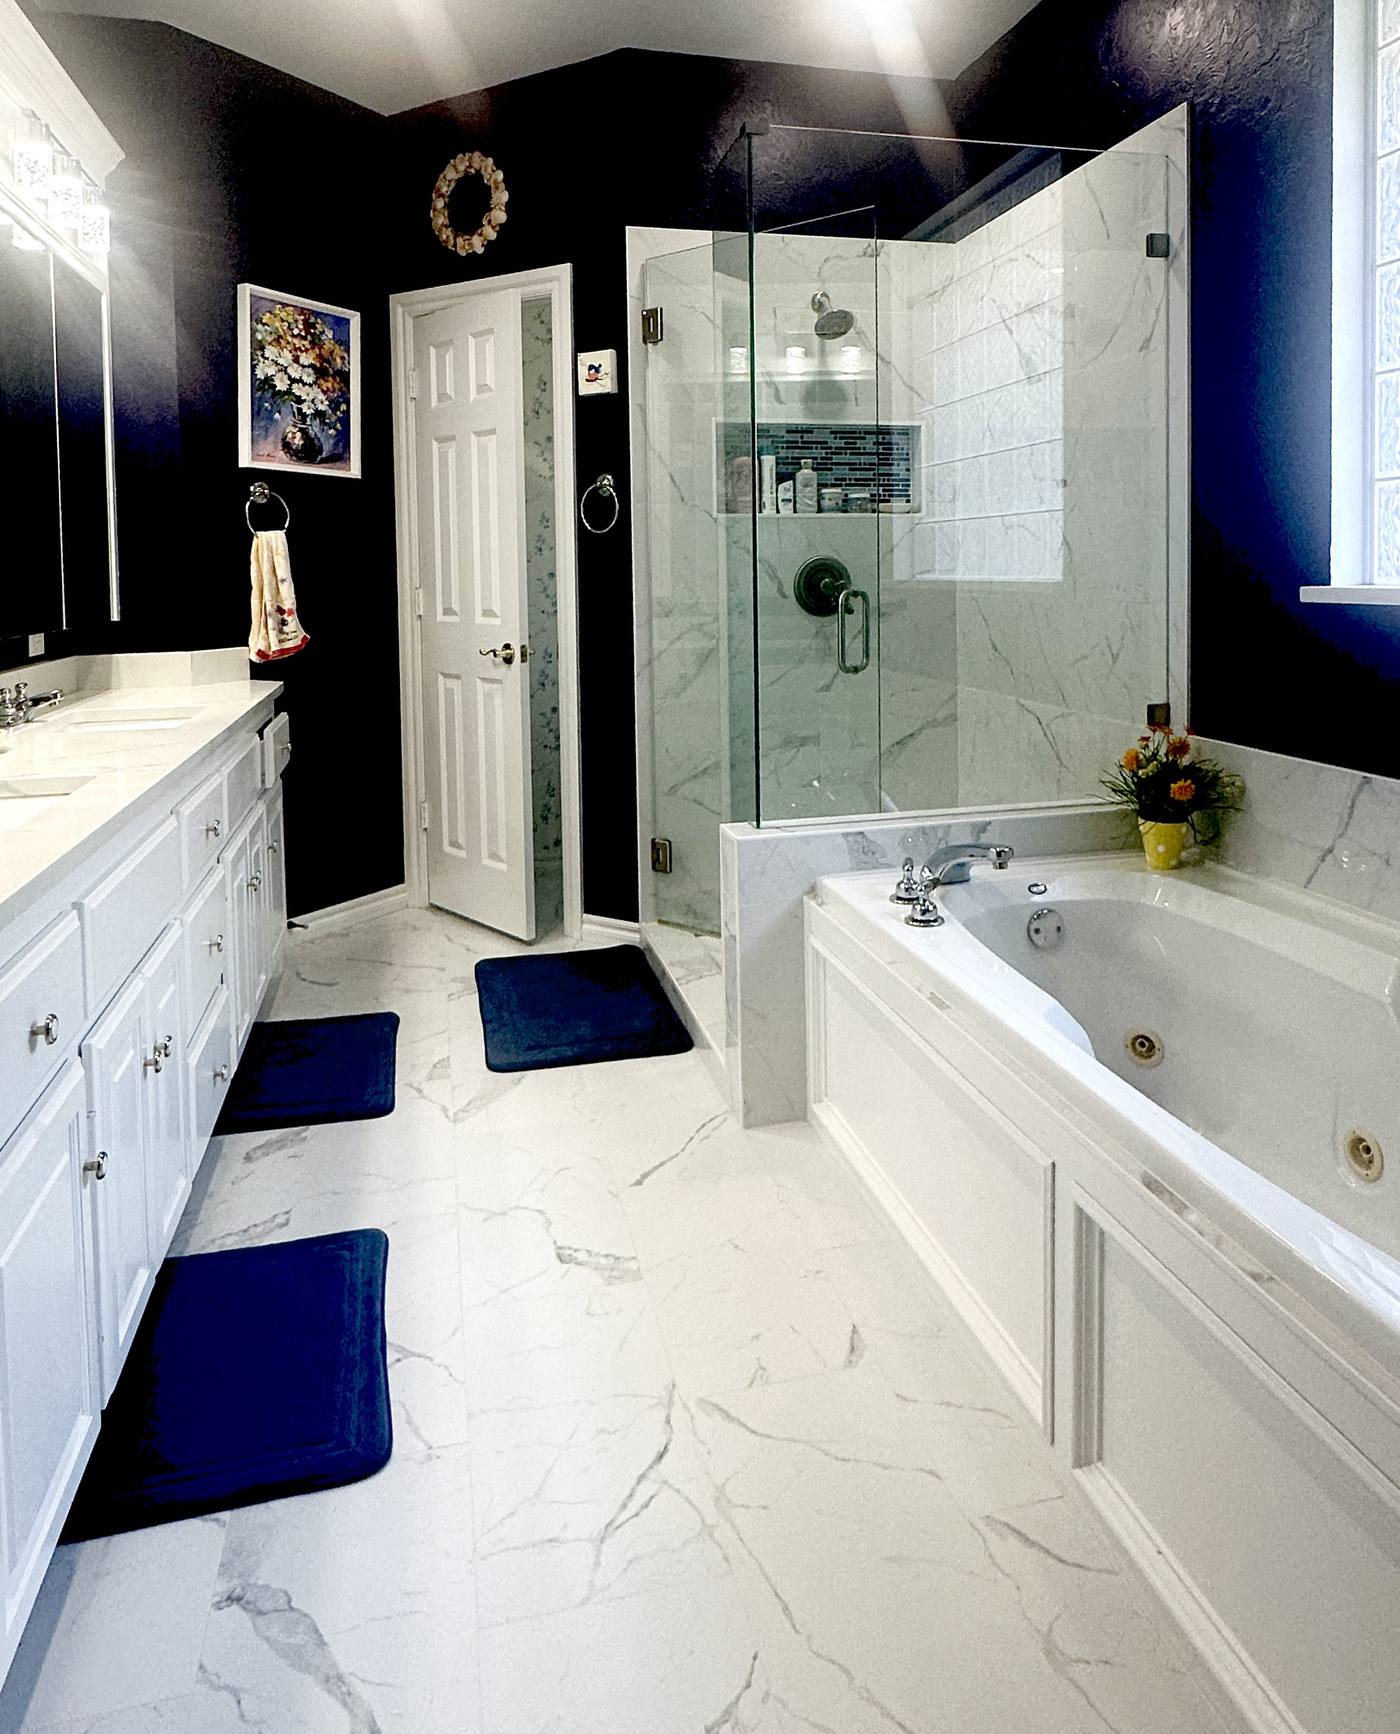
The wet room — a bathroom where the whole floor is tanked and the shower drains through the floor, with no tray and no step — is the most space-efficient option for a tiny bathroom, because it removes the enclosure that would otherwise divide the room. Your eyes see one continuous floor, the room feels larger, and there is no shower door swinging into the toilet or the basin. For very small rooms, that visual continuity is genuinely valuable, and it is why wet rooms dominate small-bathroom advice.
But a wet room is a water-management system, not just a bathroom without a tray, and it fails when it is treated as the easy option. The floor must fall correctly to the drain, the tanking (waterproof membrane) must be continuous under tiles and up the walls, and the timber floors common in older houses must be stiffened — flexing floors crack tiles and break seals. In a small room, the splash zone is the whole room: without at least a single glass screen, water reaches the toilet roll, the towels and the door. Homeowners who have lived with both often report the same trade-off in reverse — the wet room is easier to clean and feels bigger, but a blocked drain spreads water everywhere, and a failed seal is expensive to fix because the whole floor is involved.
Should a tiny bathroom keep a bath?
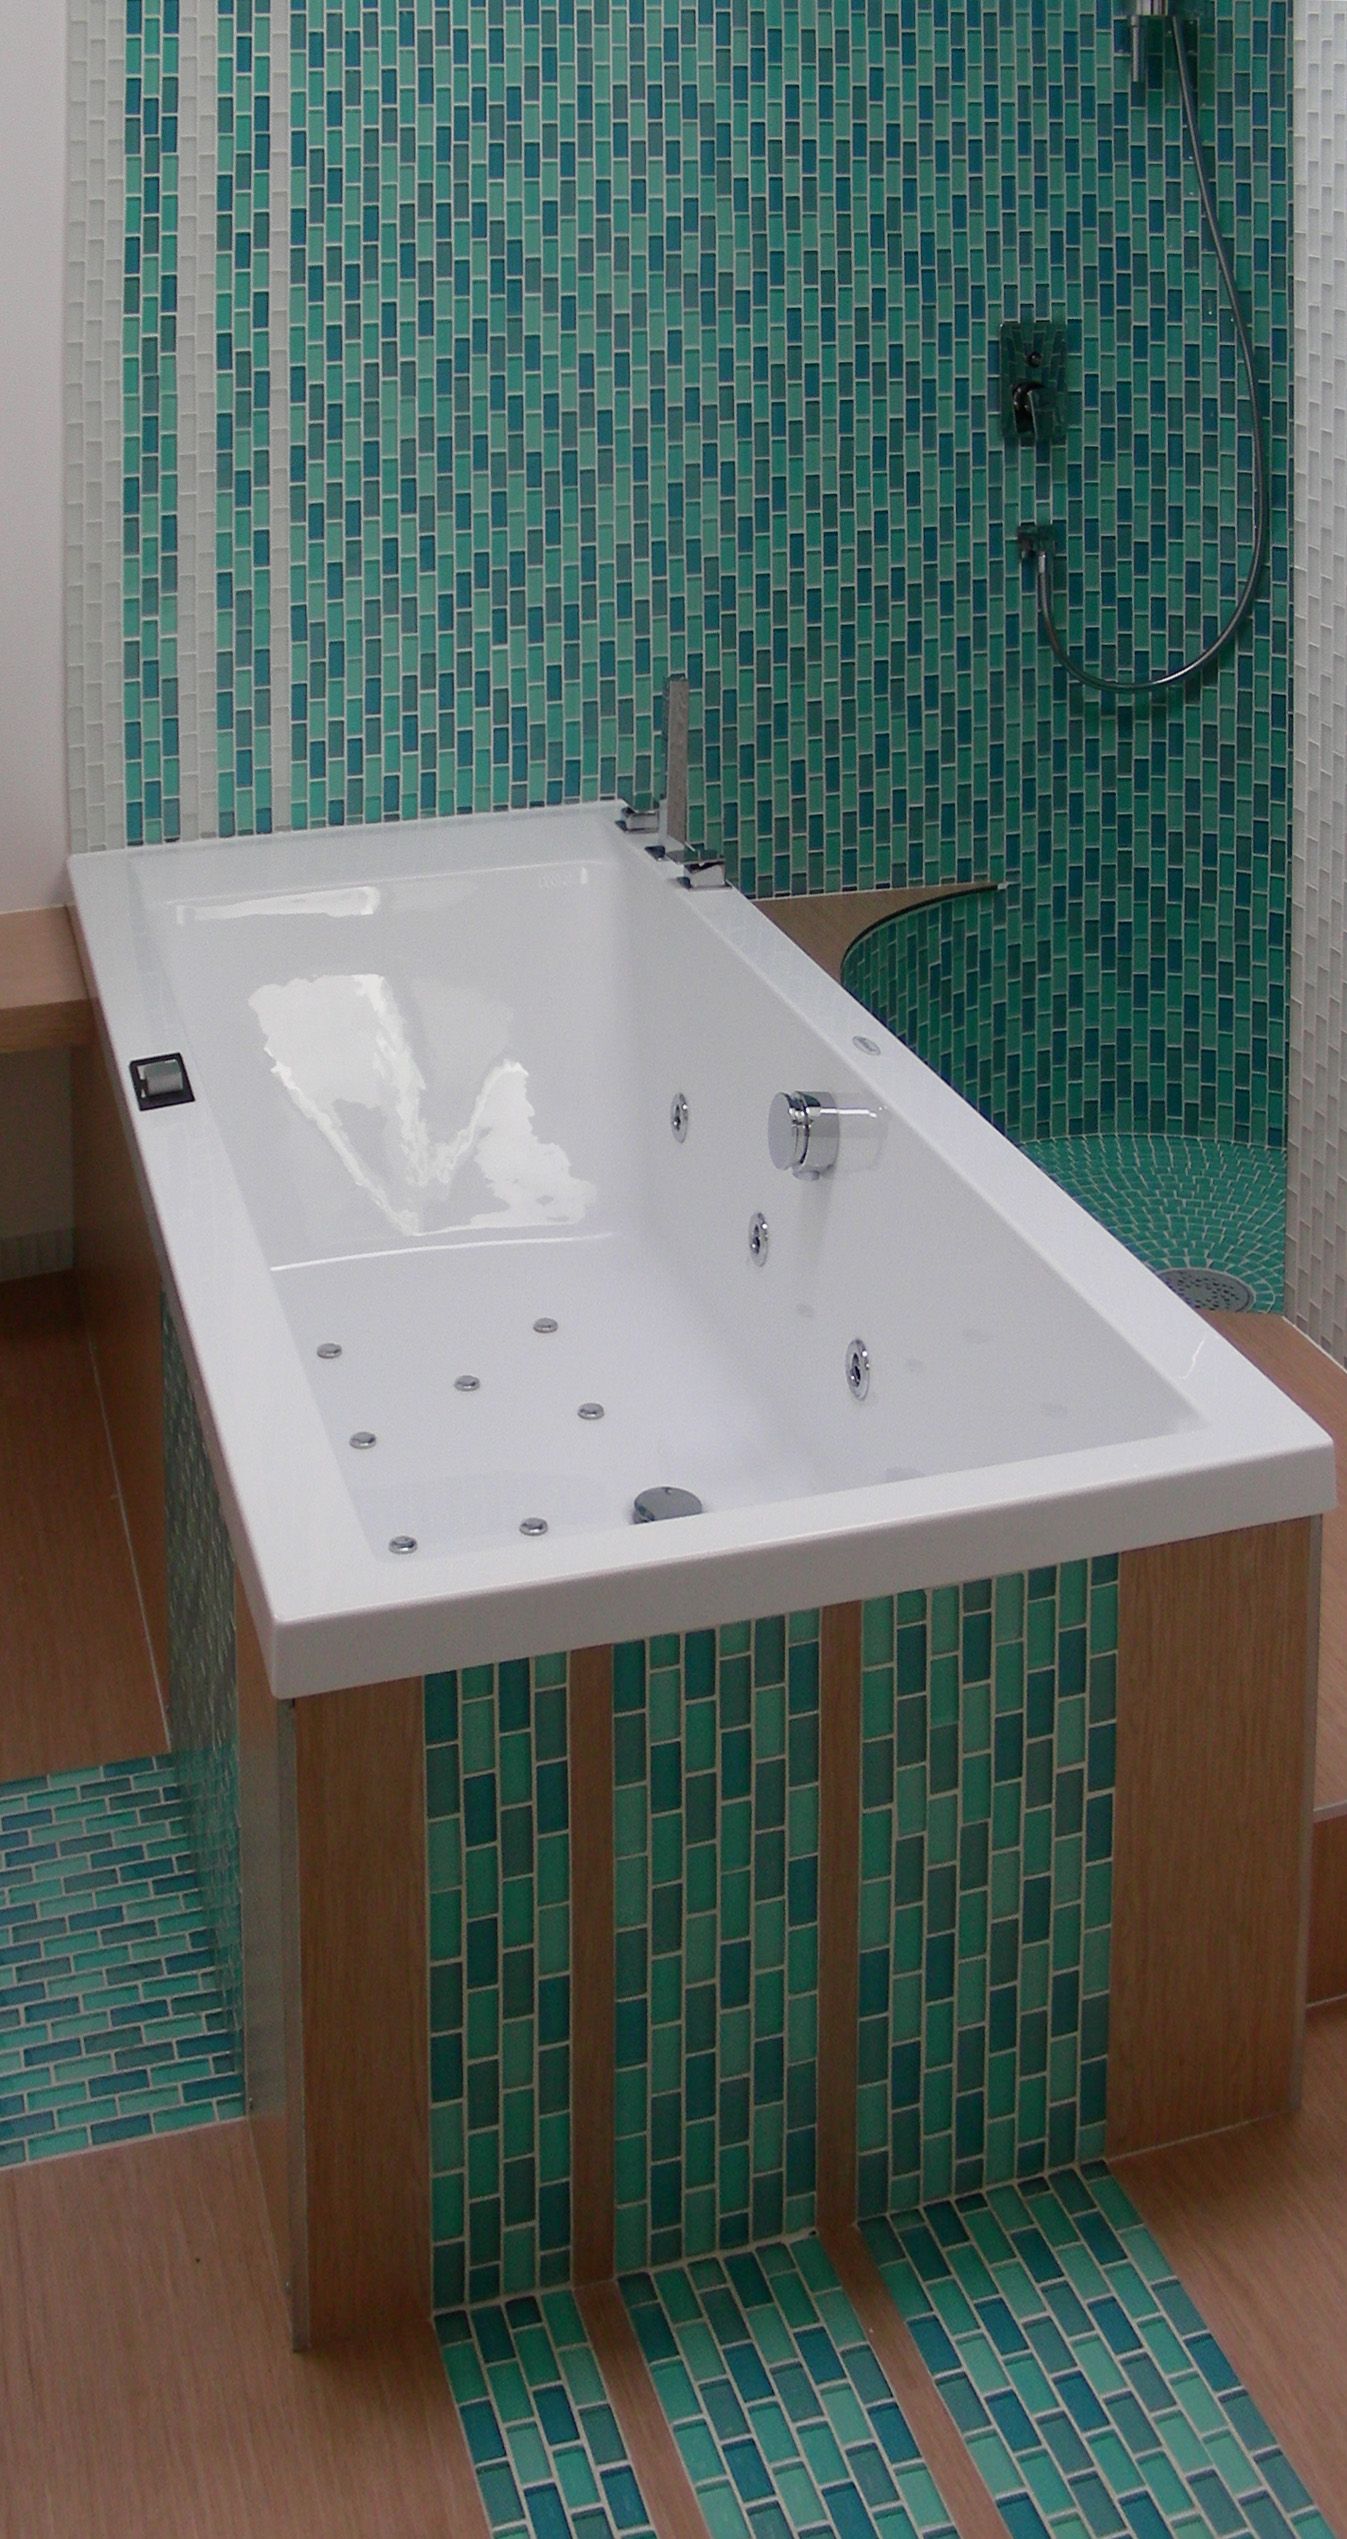
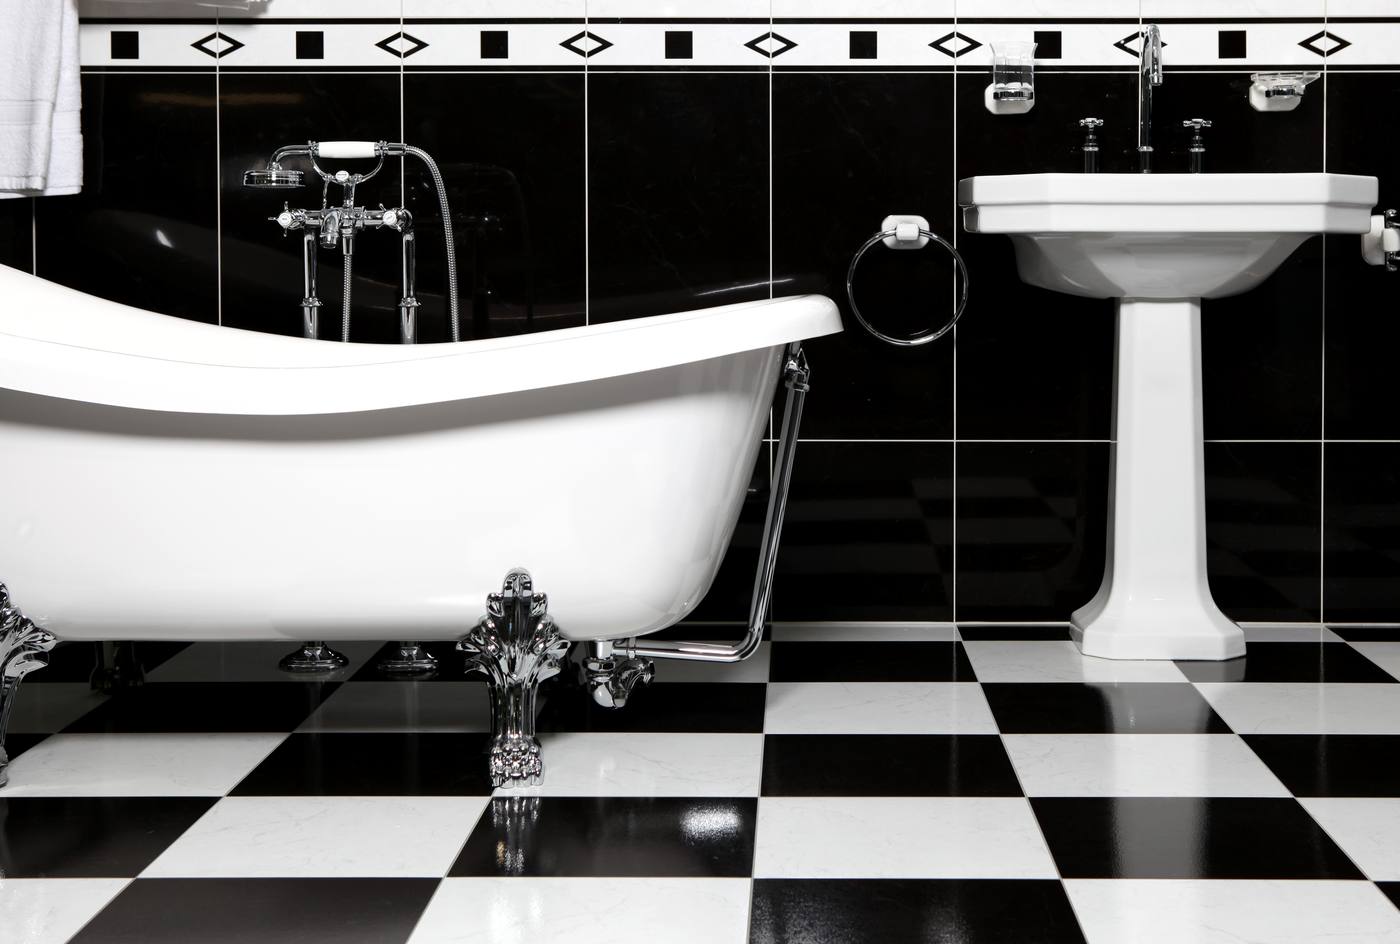
The bath-or-shower question is emotional as much as practical, and it deserves an honest answer rather than a fashionable one. A bath in a tiny bathroom consumes the longest wall and the largest single footprint, and in a room of two to four square metres it usually forces every other fixture into whatever space remains. If the household bathes daily, has small children, or values a bath for relaxation, that trade can be worth it — a compact bath (typically around 1500–1700 mm long, shorter than a standard bath) fitted along one wall, sometimes with a shower over it, can serve both purposes.
If the bath is used rarely, replacing it with a shower is usually the single biggest spatial gain available in a tiny bathroom. A shower of roughly 900 × 900 mm or 1000 × 1000 mm frees the wall the bath occupied for storage, a larger basin or simply clear floor — and a clear floor is what makes a tiny room feel usable rather than cramped. The shower-over-bath compromise keeps both functions but satisfies neither fully: stepping over a bath rim to shower is awkward for older users and small children, and the bath's high sides make cleaning harder.
Where does storage go without creating clutter?
Storage is where tiny bathrooms succeed or fail, because a bathroom accumulates more small objects than any other room — toiletries, medicines, cleaning products, towels, hair tools — and a tiny room has nowhere to hide them. The rule is simple: everything needs a closed home, and the closed home needs to be reachable without a step stool. Open shelving looks beautiful in photographs and becomes clutter within a week in real life, because bottles are never uniform and dust settles on everything.
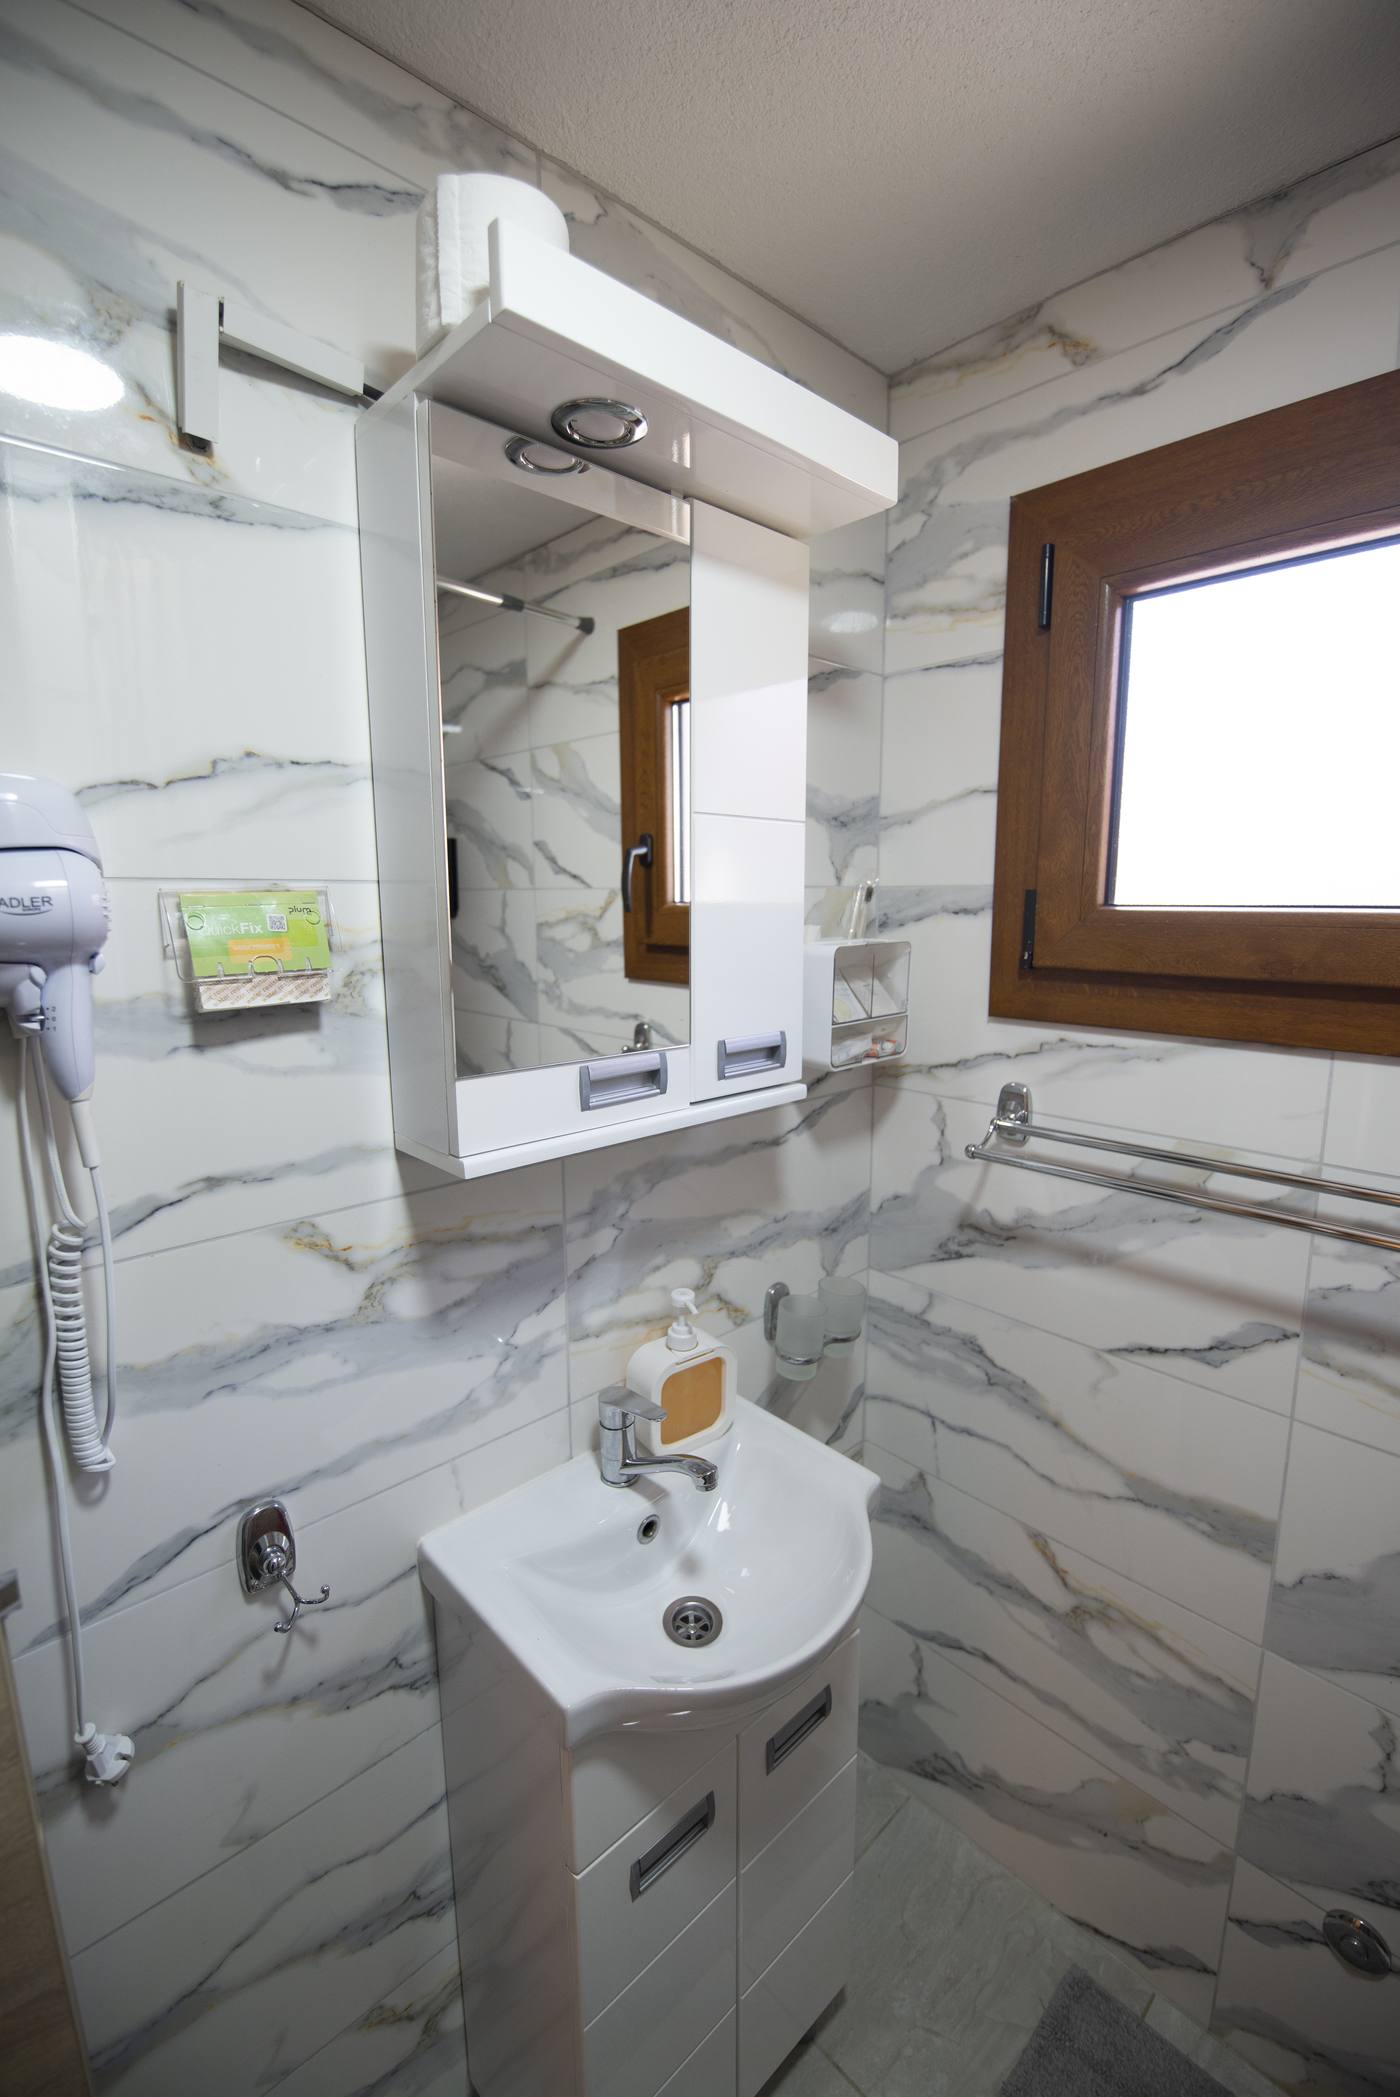
Start with the mirror cabinet: a recessed or shallow wall-mounted cabinet above the basin that stores daily items behind a mirror, so storage and the room's largest reflective surface are the same object. A full-height mirrored cabinet can double the perceived depth of the room while holding a surprising volume. Next, exploit the dead zones: a tall, narrow cabinet in the gap beside the toilet or at the end of the bath; a recessed niche in the shower wall (built into the wall thickness where structure allows) for shampoo and soap, so bottles never colonise the shower floor; and a drawer under the basin rather than a cupboard — drawers let you see contents from above instead of crouching to peer into a dark box.
Do wall-hung fixtures really save space?
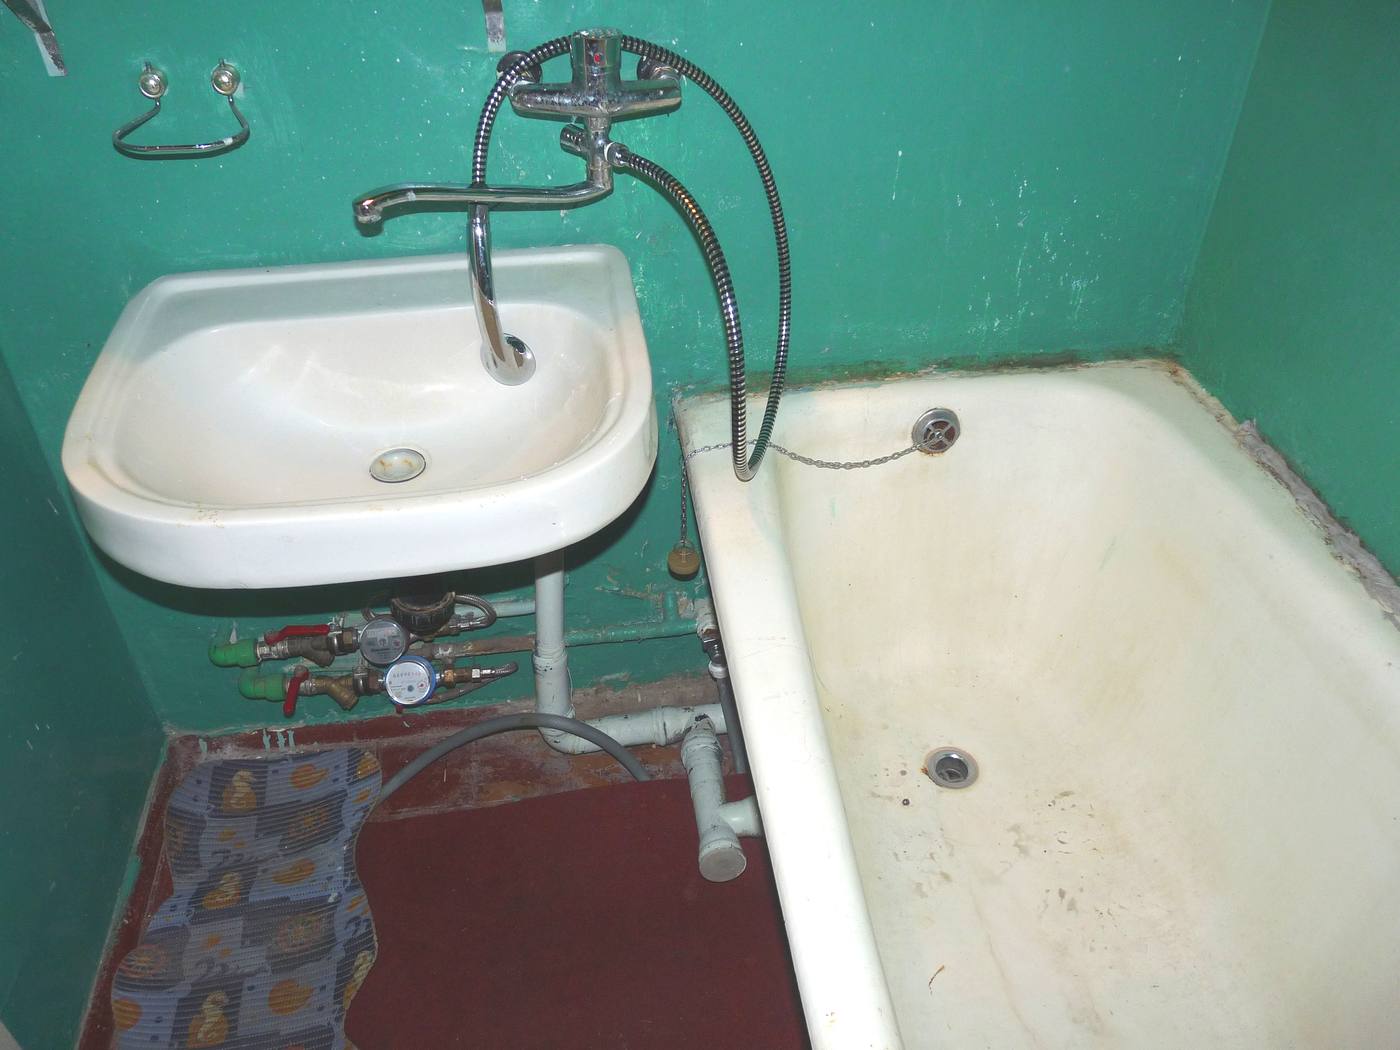
Wall-hung toilets and basins — fixtures fixed to the wall with the pipework concealed behind it — are the most reliable visual trick in a tiny bathroom. Because the floor runs uninterrupted beneath them, the eye reads more floor area, the room feels larger, and cleaning becomes dramatically easier: a mop passes straight under the basin and around the toilet without navigating a pedestal or a cistern box. In a room where every visible square of floor counts, that uninterrupted floor line is worth more than any decorative choice.
There are real conditions, though. A wall-hung toilet needs a sturdy support frame and a wall that can carry it — either a solid masonry wall or a purpose-built stud frame — and the cistern sits inside that frame, so the wall build-up is deeper than a standard close-coupled toilet. In a tiny room, that depth comes out of the room itself, so the gain in visible floor is partly offset by a thicker wall. Access for maintenance matters too: a concealed cistern with no access panel turns a simple repair into a tile-removal job, so insist on an access point, usually through the flush plate, before the wall is closed.
How do you get light into a windowless bathroom?
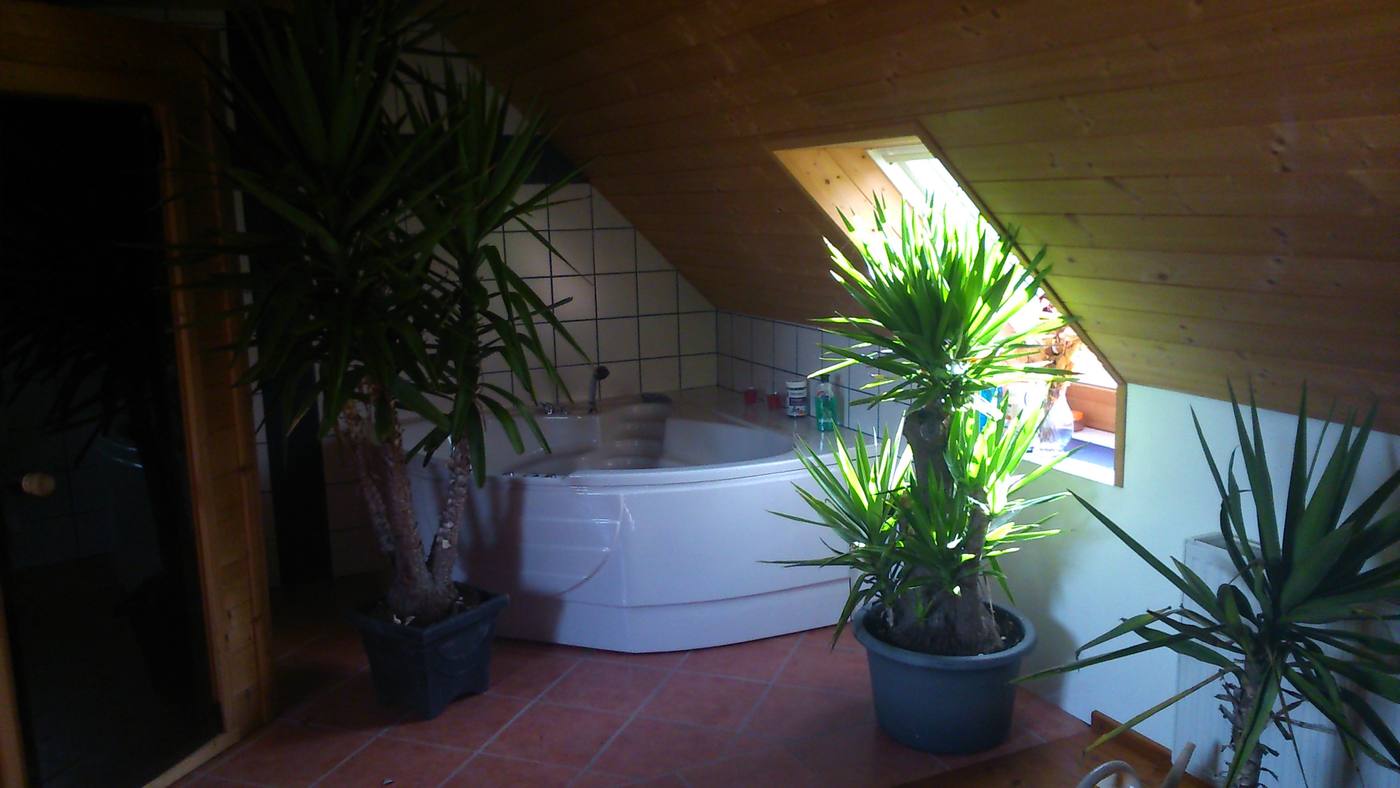
Light is the cheapest way to enlarge a tiny bathroom and the easiest to neglect. If the room has a window, treat it as the room's best asset: keep it unobstructed, use obscure glass or a simple blind for privacy rather than curtains that block light, and choose a light, reflective colour scheme around it so daylight bounces rather than being absorbed. A window above the basin or at the end of the room draws the eye along the longest sightline and makes the room feel deeper than it is.
Windowless bathrooms — common in flats and internal en-suites — need a layered lighting plan rather than a single ceiling light. Combine three layers: general light from a ceiling fitting that washes the whole room evenly; task light at the mirror, ideally from both sides at face height rather than a single downlight above, which casts shadows under the eyes and chin; and accent light in a niche or under a wall unit, which gives the room depth and prevents the flat, shadowless glare of a single source. Mirrors multiply whatever light exists, so a large mirror — ideally wall-to-wall above the basin — is the highest-value lighting purchase in a windowless bathroom.
How do you keep a tiny bathroom dry and mould-free?
A tiny bathroom produces the same steam as a large one in a fraction of the volume, so ventilation is not a detail — it is the system that decides whether the room survives. Without effective extraction, moisture condenses on the coldest surfaces, grout darkens, paint peels and mould takes hold in corners and behind units. The physics is unforgiving, and the fix must be designed in, not added after the tiles are up.
In England, Building Regulations Approved Document F (Part F) sets the benchmark: for an intermittent extract fan, a bathroom needs a minimum extract rate of 15 litres per second, or 8 litres per second for a continuous system. A fan that only just meets the minimum on paper may still underperform in practice if the duct run is long, bent or kinked, so keep duct runs short and straight, vent directly to outside (never into a roof void), and provide a route for replacement air into the room — typically a gap beneath the door — or the fan will strain against a sealed room and move little air. A humidistat or overrun timer that keeps the fan running for a period after showering clears the lingering steam that causes most damage.
Which materials survive daily steam and splashes?
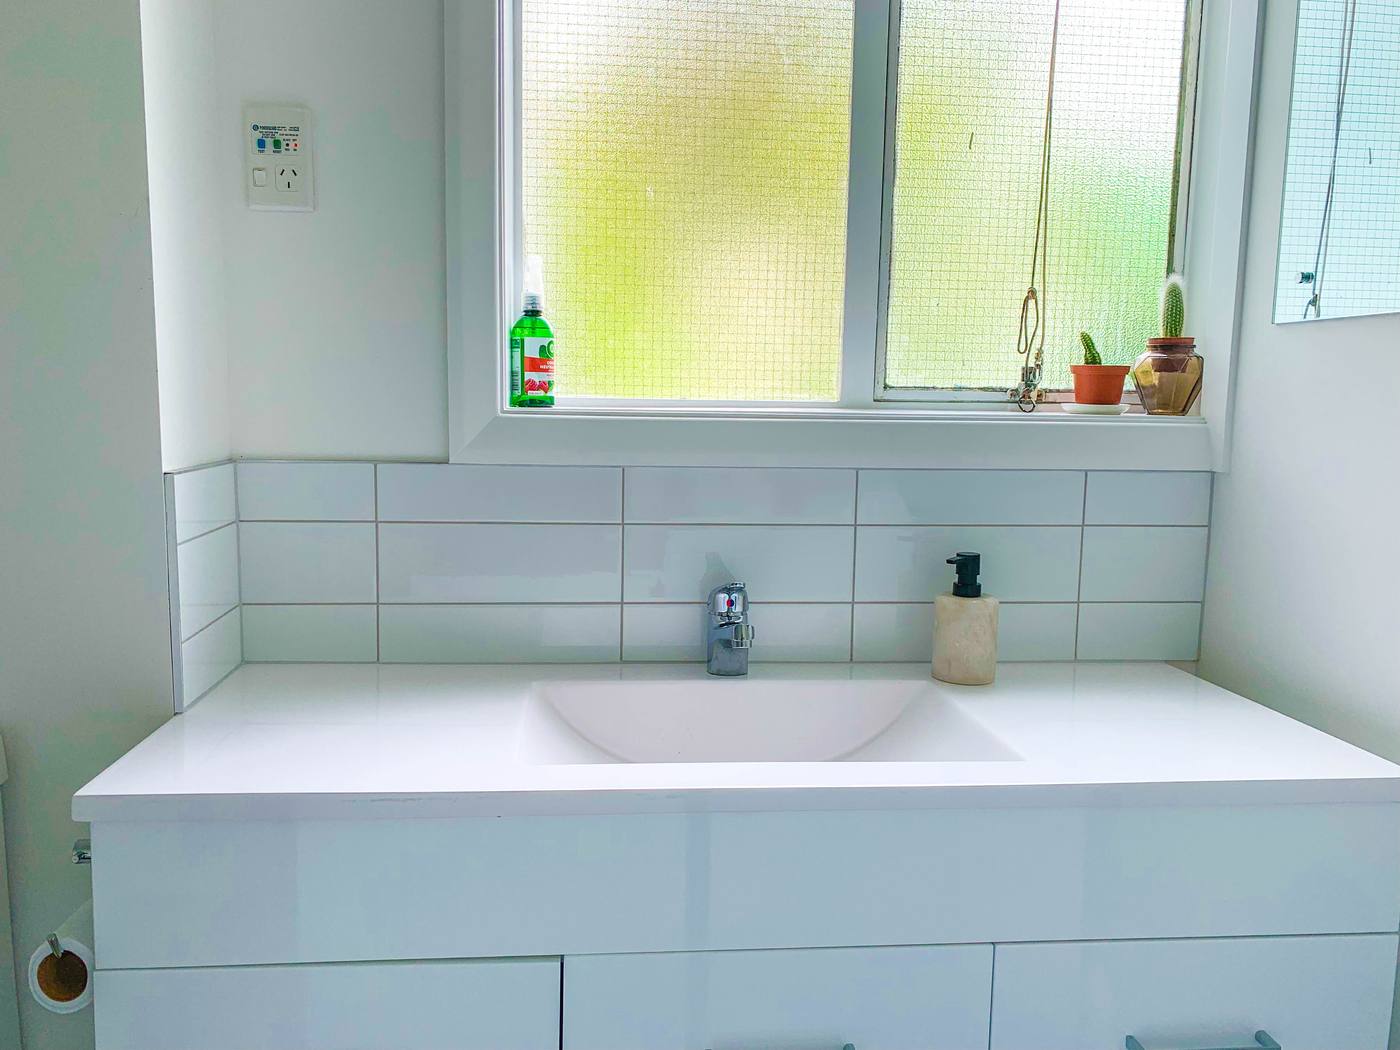
Materials in a tiny bathroom work harder than anywhere else in the house: they are splashed, steamed, scrubbed and stood on daily, in a room where every surface is within reach. The guiding principle is fewer joints, smoother surfaces, and nothing that needs constant sealing. Large-format wall tiles or shower panels reduce grout lines — grout is where mould and discolouration start — and a single tile running across floor and walls blurs the room's edges and makes it feel larger. Porcelain tiles suit floors because they are dense, hard-wearing and far less absorbent than natural stone, which needs sealing and stains more readily.
For wet zones, the membrane matters more than the tile. Tile and grout are not waterproof; the tanking membrane beneath them is what protects the structure and the room below. Skipping or skimping on tanking is the classic expensive lesson of bathroom renovation — a leak through a failed shower seal can damage ceilings, joists and finishes far beyond the bathroom itself, and rectifying it means removing the finishes you have just paid for. Spend on the invisible layers first: tanking, floor falls, ducting and framing. Finishes can be upgraded later; a failed waterproofing layer cannot.
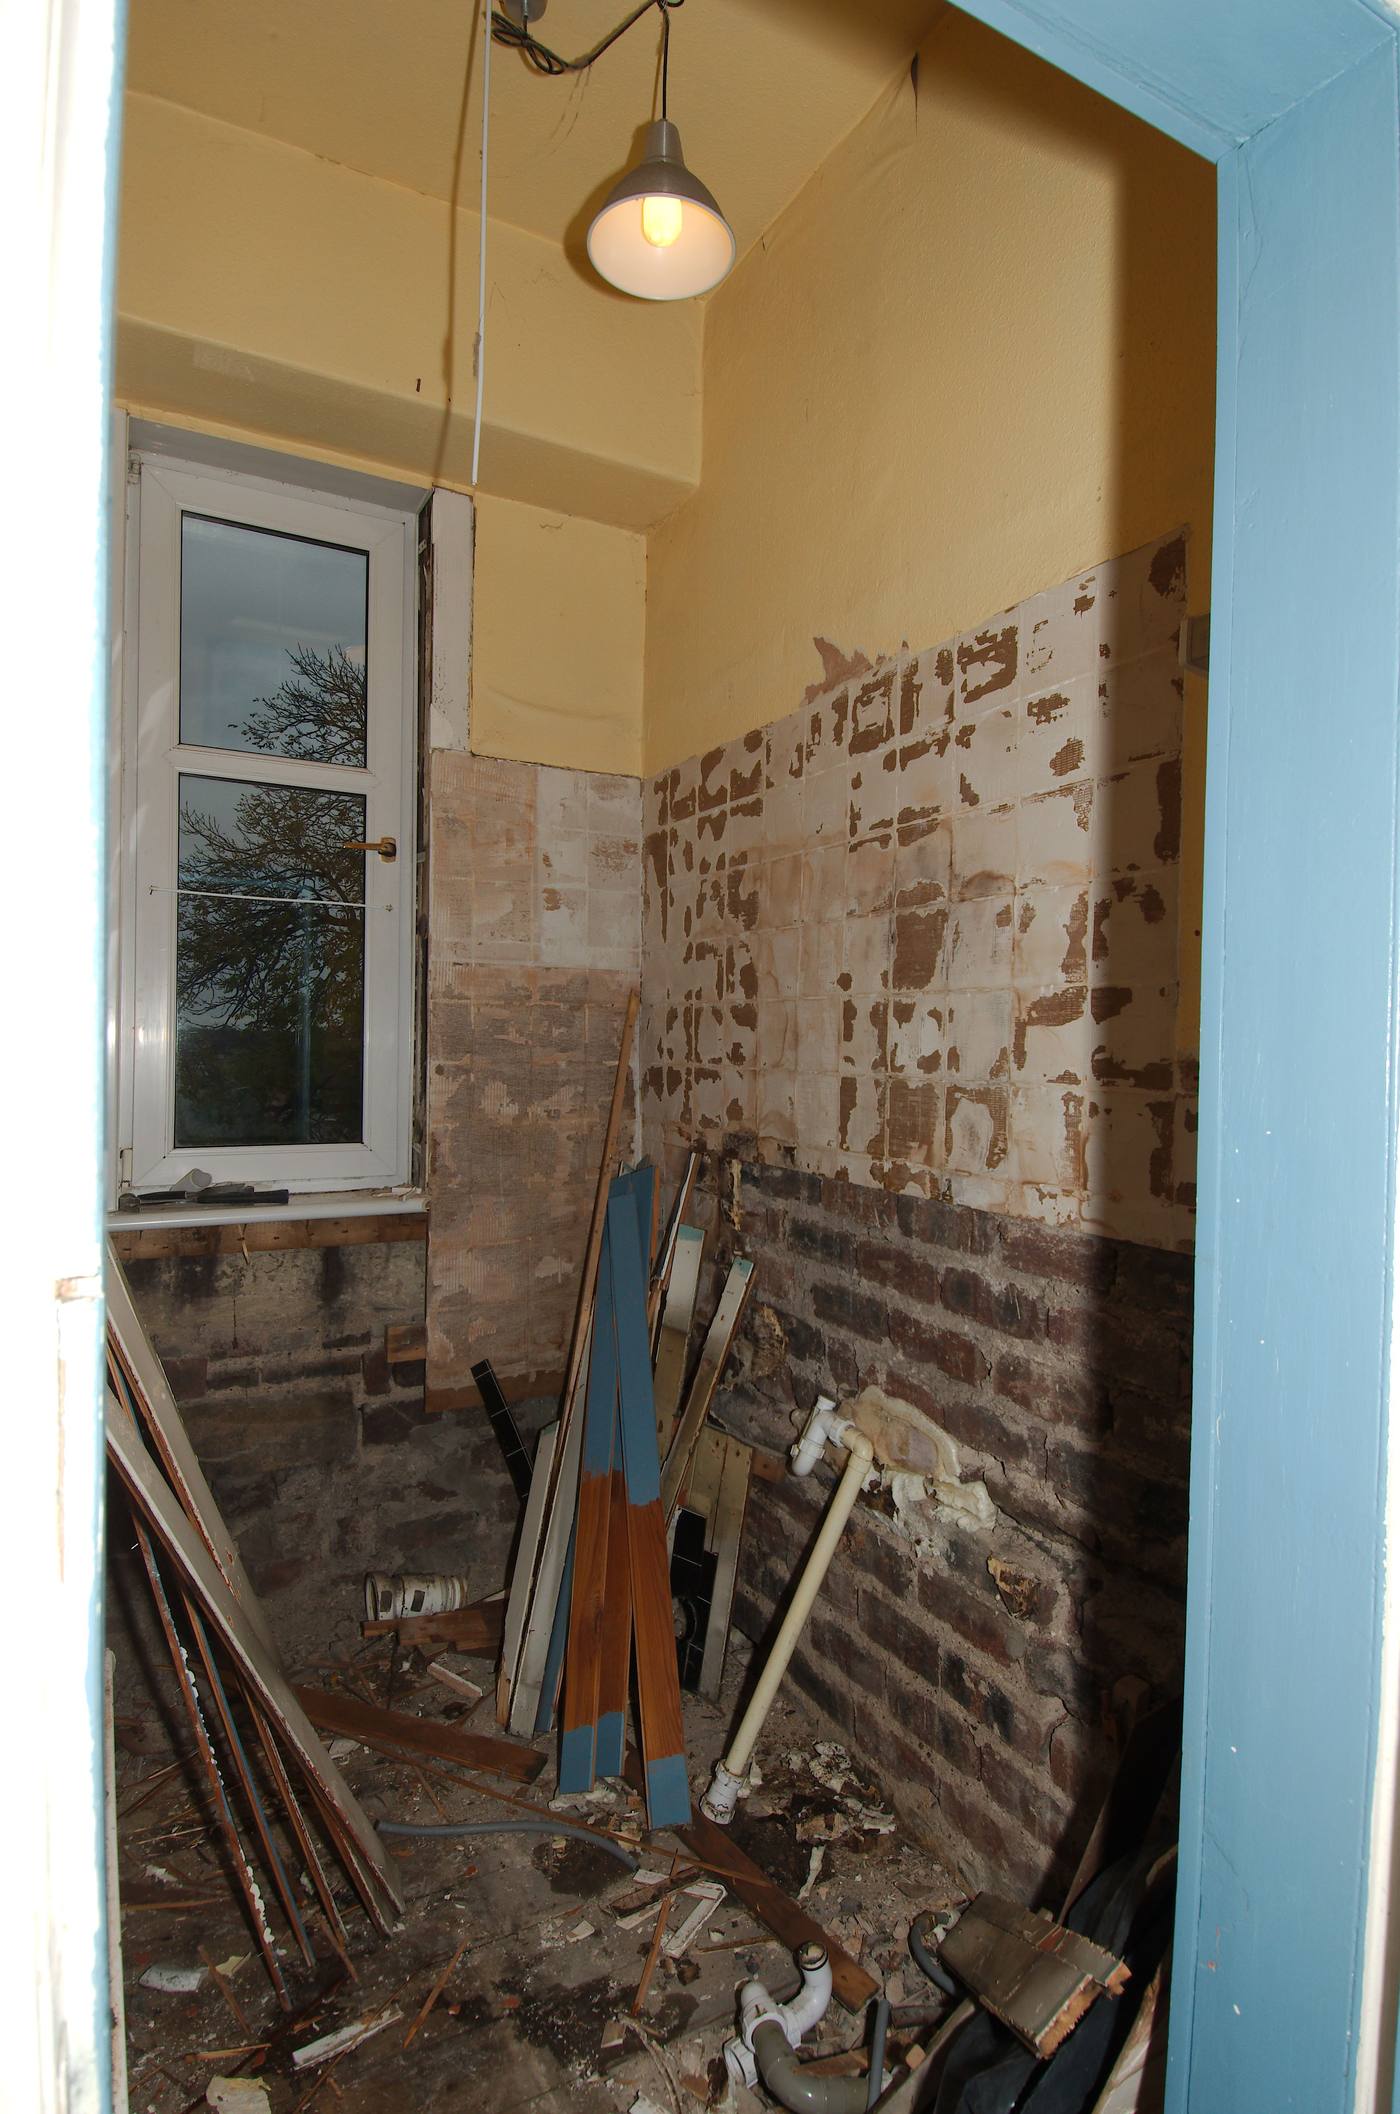
What about the door, access and awkward corners?
The door is the most overlooked element in tiny-bathroom design, and the one that most often breaks an otherwise good layout. A standard inward-opening door sweeps an arc of roughly 800 × 800 mm inside the room — in a two-square-metre bathroom, that is a fifth of the floor, and it usually lands exactly where the basin or toilet wants to be. Test the swing on paper before anything else: if the door hits a fixture, blocks the toilet approach or traps the user against the shower screen, the layout needs to change, not the user's patience.
The usual fixes, in order of simplicity: reverse the swing so the door opens outward into the hallway (check it does not block a corridor or another door); fit a pocket door that slides into the wall cavity, eliminating the swing entirely but requiring a wall thick enough to house it and free of pipes and cables; or fit a bifold or sliding barn door on the outside face, which saves swing space but needs clear wall beside the opening. Each option has a cost in wall build-up or hallway space, so decide it during planning, not during fitting.
What are the most common tiny-bathroom mistakes?
The same mistakes recur in tiny bathrooms with such regularity that they read like a checklist of what not to do. First, taking the layout at face value — accepting the existing fixture positions without testing alternatives, even though moving a basin a short distance can transform the room. Second, skipping waterproofing and ventilation to save money or time, which are the two failures that cost the most to rectify. Third, choosing a vanity that blocks circulation: a deep vanity unit that looks generous in a showroom but leaves no room to stand at the basin or open the door fully.
Fourth, overloading the room with storage, niches and feature walls until the open feeling the renovation was meant to create is gone — every added element in a tiny room costs visual space, so each one must earn its place. Fifth, ignoring the door, as above. Sixth, dark finishes in a windowless room: a moody charcoal tile scheme can look stunning in a large bathroom and oppressive in a two-square-metre one. Seventh, undersized extraction — a quiet, weak fan chosen for silence over performance, which leaves the room damp. And eighth, forgetting cleaning: ornate fittings, deep grout joints and inaccessible corners that look fine on day one and become a maintenance burden by month six.
The tiny-bathroom design checklist
Work through this list before ordering a single fitting. It is the difference between a tiny bathroom that works and one that merely looks finished:
- Measure everything twice — walls, window, door swing, soil and waste positions, ceiling height.
- Draw the plan to scale and test fixture templates against door swing and clearances.
- Choose the layout by the room's shape — one-wall, galley or corner — and protect one clear sightline.
- Decide wet room, walk-in shower or enclosure before finishes, and design the drainage and tanking first.
- Settle bath or shower on actual use, not on imagined use.
- Give everything a closed home — mirror cabinet, drawer vanity, tall unit — and keep bulk storage outside the room.
- Use wall-hung fixtures where they pay, with access for maintenance.
- Layer the lighting — general, mirror task and accent — and maximise the mirror.
- Specify extraction to Part F or better, with a short straight duct to outside and a replacement-air path.
- Choose low-joint, easy-clean materials and spend first on tanking and framing.
- Resolve the door — swing, pocket or sliding — before the layout is frozen.
- Test the finished plan against daily life — morning rush, children, guests, cleaning — not just the first viewing.
A tiny bathroom is not a small version of a big bathroom; it is a different design problem, solved by measurement, discipline and restraint. Get the plan right, keep the water where it belongs, give the light somewhere to go, and the smallest room in the house can become the calmest. If the plan itself is where you want to start, our companion guide to reading a floor plan like an architect teaches the method this guide relies on — symbols, scale, circulation and the red flags to spot before you commit.
Frequently asked questions
Which layout works for a tiny bathroom?
Most tiny bathrooms resolve into one of three layouts: a one-wall layout with all fixtures along a single wall, a galley layout splitting fixtures across two facing walls, or a corner layout tucking the shower or bath into a corner. The room's shape usually picks for you.
Wet room or separate shower: which suits a tiny bathroom?
A wet room is the most space-efficient option because it removes the enclosure that would otherwise divide the room, but it is a water-management system, not just a bathroom without a tray: the floor must fall correctly to the drain and the tanking must be continuous.
What extract rate does a bathroom fan need in England?
Under Approved Document F, an intermittent extract fan for a bathroom needs a minimum extract rate of 15 litres per second, or 8 litres per second for a continuous system. Keep duct runs short and straight, vent directly to outside, and provide a replacement-air path, typically a gap beneath the door.
Evidence and source notes
Related architecture stories
- Loft Conversion Handbook: Types, Headroom, Stairs, Planning and Costs
Most UK pitched-roof houses can gain a loft room, but only when ridge height, roof structure and a compliant stair all line up at once.
- How to Tell If a Wall Is Load-Bearing Before You Remove It
Joist direction, stacking, basement and attic clues, thickness and plans: how to form a first impression of a load-bearing wall — and why only a structural engineer can confirm it before you remove anything.
- Staircase Types Explained: Which Shape Fits Your Home Best?
Straight, L-shaped, U-shaped, winder, spiral and helical stairs compared on space, comfort, safety and cost — plus the England and US rules that shape every flight.
📌 Never miss a story — add World Arch Journal as your preferred source on Google: https://www.google.com/preferences/source?q=worldarchjournal.com