Insulating Solid Walls from Inside: Breathable Materials, Damp Risks and What It Costs
Internal wall insulation works when the wall is dry, the vapour strategy matches the masonry, junctions are detailed and ventilation is improved at the same time.
By World Arch Journal ·
Project file
- FORMAT: International architecture decision guide
- AUTHOR: World Arch Journal
- PUBLISHED: 27 October 2026
- ILLUSTRATIONS: 10 licensed photographs, each credited under its image
- SCOPE: Editorial guidance · project-specific assessment required
Insulating a solid wall from the inside is one of the most effective ways to make an older home warmer, and one of the easiest retrofit jobs to get wrong. The direct answer is this: internal wall insulation works well when the wall is dry, the vapour strategy matches the wall, the junctions are detailed rather than left as cold spots, and ventilation is improved at the same time. It causes trouble when insulation is fixed over a wet wall, when a vapour-tight board is glued over a wall that needs to breathe, or when reveals, floors and sockets are left uninsulated and become the new coldest surfaces in the room. This guide is about that decision — material, vapour strategy, thickness, cost and detailing — not about diagnosing damp in general or the consent process in detail, which companion guides cover.
Two numbers frame the decision. An uninsulated solid brick wall typically has a U-value of around 2.1 W/m²K, losing heat roughly seven times faster per square metre than the 0.30 W/m²K improved U-value that Approved Document L sets for a wall fitted with internal or external insulation where that target is technically, functionally and economically feasible. The Centre for Sustainable Energy (CSE), drawing on Energy Saving Trust figures, puts internal solid wall insulation for an average three-bedroom semi-detached house at around £12,000, with gas-heating bill savings in the region of £330 a year. On bills alone payback stretches over decades, so the job makes most sense alongside planned redecoration, when comfort and condensation control are part of the return.
How do I tell whether my wall is solid or cavity, and why does that change everything?
A solid wall is a single thickness of brick or stone with no gap inside it. A cavity wall is two thinner leaves separated by a gap, common from the 1920s onwards, which can often be filled with insulation. The distinction changes everything because a solid wall has nowhere to blow insulation into: insulation must go on the inside or outside face, with all the space, detailing and moisture consequences that follow.
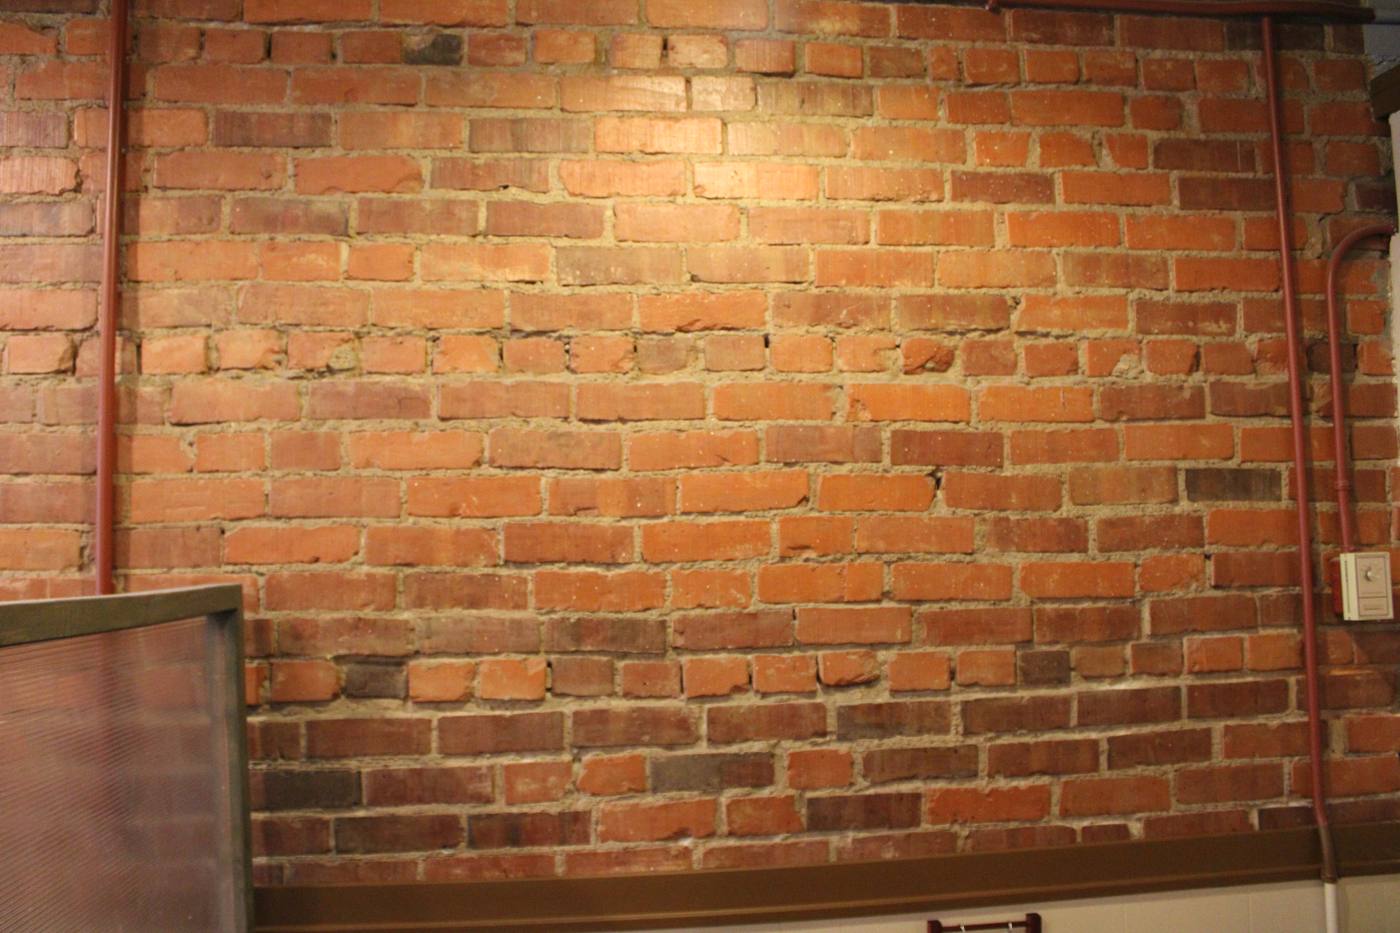
Three checks, taken together, usually settle it. Age: homes built before about 1920 are more likely to have solid walls. Brick pattern: a solid brick wall usually shows some bricks laid end-on, so you see their short ends (headers), because headers tie the wall together through its thickness; a cavity wall normally shows bricks laid lengthways only (stretchers). Thickness at a door or window reveal: a brick wall narrower than about 260 mm is probably solid, and stone walls are generally solid whatever their thickness. If the outside is rendered or clad you cannot see the brickwork, so get a professional opinion first. This matters for moisture too: a lime-mortar solid wall was designed to absorb some rainwater and dry out again, and insulating inside makes the masonry colder and changes where vapour condenses.
Should I insulate inside or outside — when is internal the only realistic option?
External insulation is usually the better building-physics choice: it keeps the masonry warm, protects the brickwork, avoids losing room space, and largely avoids cold-bridge problems at floor and ceiling junctions. Internal insulation is chosen anyway, very often, for reasons that have nothing to do with physics: it is cheaper, it does not change the outside of the building, it works in conservation areas and for listed buildings where external cladding would be refused, and it works flat by flat, where one owner cannot insulate a whole block.
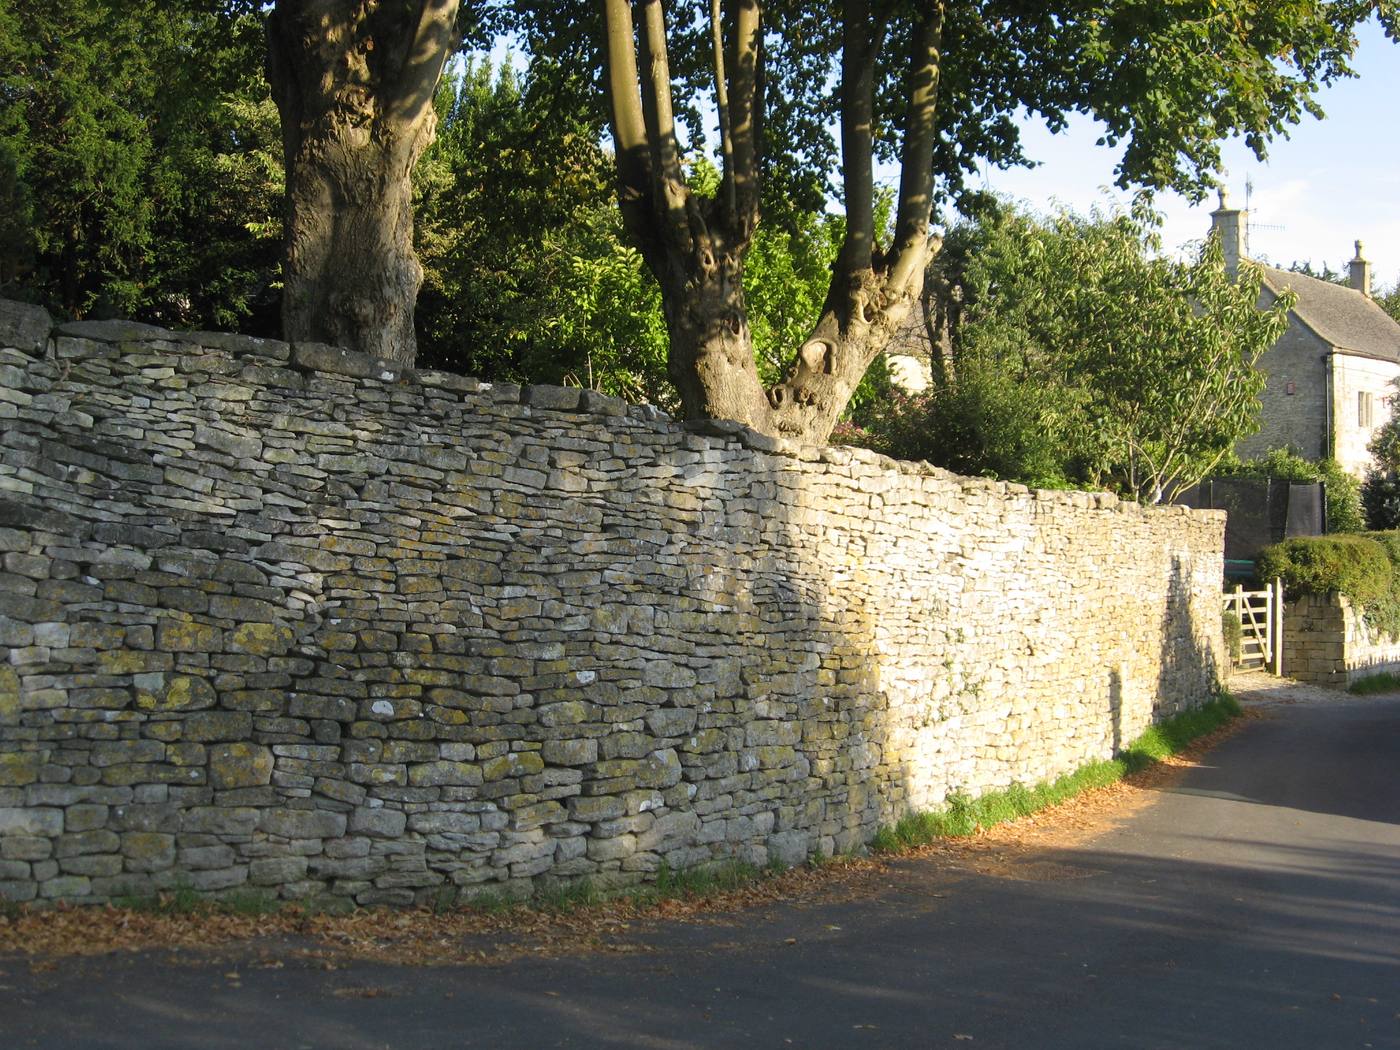
Internal becomes the only realistic option for a listed or conservation-area home where appearance must be preserved; a terraced house where a neighbour will not agree to a continuous external system; a flat where only one storey can be treated; a facade with decorative brickwork or a boundary hard against the pavement that leaves no room for external build-up; and a phased, room-by-room budget where work must happen during redecoration. In those cases, detail the internal system as carefully as an external one, especially at junctions — and plan the sequence, because Cotswold District Council's retrofit guidance warns that insulating only one room is not generally advised: the boundary to uninsulated rooms becomes a condensation risk.
Will internal wall insulation cause damp? Under what conditions, and what is "interstitial condensation" in plain terms?
Yes, internal wall insulation can cause damp — but not by magic, and not in every house. Before insulation, indoor heat kept the masonry relatively warm, so water vapour passing through the wall usually stayed as vapour and dried to the outside. After insulation, the masonry behind the lining is colder, and if warm, moist indoor air reaches that cold hidden surface and cools below its dew point, it condenses there, inside the construction, where you cannot see it.
That hidden condensation is called interstitial condensation. "Interstitial" simply means "in the gaps" — within the layers of the wall build-up, between insulation and masonry, rather than on the room-side surface where you would notice a damp patch. Surface condensation is visible and usually a ventilation and heating problem; interstitial condensation is invisible until it has done damage: it can wet insulation, feed mould behind boards, rot timber joist ends embedded in the wall, and bring salts to the surface when the wall dries. It is most likely when the wall is already wet from rain, a leaking gutter or failed pointing; when a vapour-tight lining has gaps or unsealed socket cut-outs; when indoor humidity is high and ventilation weak; or when insulation is patchy and leaves cold bridges. None of these is an argument against insulating; together they are the specification for the survey, repair list and detailing checklist that must come first. Our companion guide on damp, condensation and mould design fixes explains how to tell these moisture sources apart.
The breathable route (wood fibre, lime plaster, hemp-lime) vs the vapour-barrier route (PIR board + sealed vapour control layer) — who should choose which?
There are two fundamentally different ways to handle vapour, and choosing between them is the most important specification decision in this guide. The breathable route uses vapour-permeable, moisture-buffering materials — wood-fibre boards, lime plaster, hemp-lime, cork — finished with lime or clay plaster, so vapour can pass through and the wall can dry in both directions. The vapour-barrier route uses a rigid board such as PIR (polyisocyanurate) bonded to plasterboard, with a continuous sealed vapour control layer, taped joints and sealed penetrations, so vapour is stopped before it reaches the cold masonry. Both can work; mixing them carelessly fails — as the CSE puts it, there is no point using a vapour-permeable insulation material if a non-permeable plaster, like gypsum, is used over the top.
The breathable route is the safer default for traditional solid walls, especially pre-1919 brick and stone built with lime mortar, listed buildings and rain-exposed walls: wood fibre lets vapour pass through rather than trapping it, and lime plasters hold and release moisture, helping balance indoor moisture levels, in the CSE's description. Its price is thickness — wood fibre insulates less per millimetre than PIR, so the build-up is deeper — but it is more forgiving of small imperfections and more reversible, which is why conservation officers tend to prefer it. The vapour-barrier route fits where space is tight and the wall is modern, dry and not moisture-sensitive: illustrative thicknesses to reach 0.30 W/m²K on a typical solid wall, from The Green Age's worked figures, are about 66 mm for PIR, 89 mm for EPS and 109 mm for mineral wool, before plasterboard. But the barrier must be continuous — every joint taped, every socket box sealed, every pipe penetration grommeted — and, as the CSE warns, it needs specialist design and installation and will most likely require a ventilation upgrade. If your installer cannot show how each penetration will be sealed, do not accept this route.
| Feature | Breathable route | Vapour-barrier route |
|---|---|---|
| Materials | Wood-fibre board, hemp-lime, lime plaster, cork | PIR board + plasterboard, sealed vapour control layer |
| Thickness for ~0.30 W/m²K | Deeper (wood fibre roughly 100 mm+ plus plaster) | Thinner (PIR roughly 65–75 mm plus board) |
| Vapour behaviour | Vapour passes through; wall dries both ways; lime buffers moisture | Vapour stopped at barrier; any gap becomes a condensation point |
| Reversibility | Generally good; lime systems removable with less fabric damage | Poorer; bonded boards harder to remove cleanly |
| Best suited to | Pre-1919 lime-mortar brick/stone, listed homes, rain-exposed walls | Dry modern solid walls, tight spaces, rooms where depth is critical |
Rule of thumb: old, lime-built or listed walls start with the breathable route; modern, dry, space-critical walls may use the vapour-barrier route, with sealing and ventilation specified in writing.
What must be fixed before any insulation goes up (existing damp, leaking gutters, failed pointing/render, ground levels)?
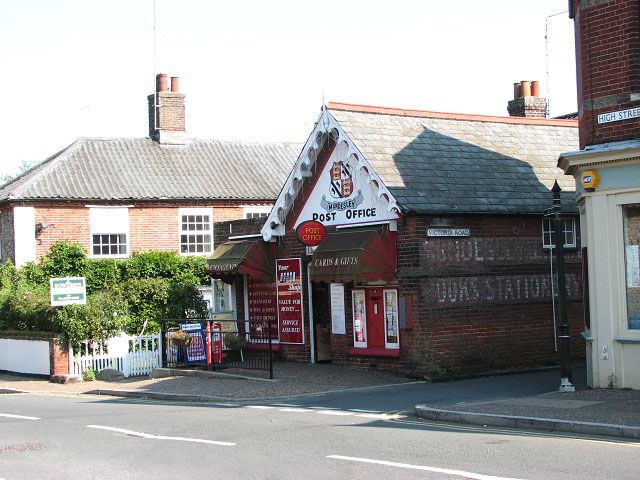
No insulation system fixes a wet wall; it hides one. Before any board or plaster goes up, the wall must be dry or drying, and the reasons it got wet must be removed. Walk the outside in rain if you can, and work through this list with a surveyor or experienced installer: leaking or overflowing gutters and downpipes, including joints that drip onto the wall below; cracked or missing render and failed, recessed or cement pointing on a lime-built wall, which traps water instead of letting it out; high external ground levels, soil or paving piled against the wall above the damp-proof course, bridging it; defective window and door seals, cracked sills and failed flashings; and internal leaks from bathrooms, kitchens and pipework mistaken for rising damp. Each is cheaper to fix before insulation than after, because afterwards the same repair means stripping the new lining.
Existing damp must be diagnosed, not painted over: rising damp, penetrating damp from rain, and condensation have different causes and cures, and insulating over any of them without diagnosis stores the problem behind a warm-looking wall. Allow the wall time to dry after repairs where the surveyor advises it, and be suspicious of any installer who wants to start the day after a leak is fixed. Damp, salt-contaminated or debonded gypsum plaster may need to come off, and on a breathable system it should be replaced with a compatible lime coat, or breathability is lost at the finish layer. Photograph the bare wall, joist ends and reveals before they are covered, and agree in writing who owns each repair — a quote that assumes a dry wall without checking is an incomplete quote.
How thick is the build-up, how much room/floor area do I actually lose, and what does Approved Document L say about the 5% allowance?
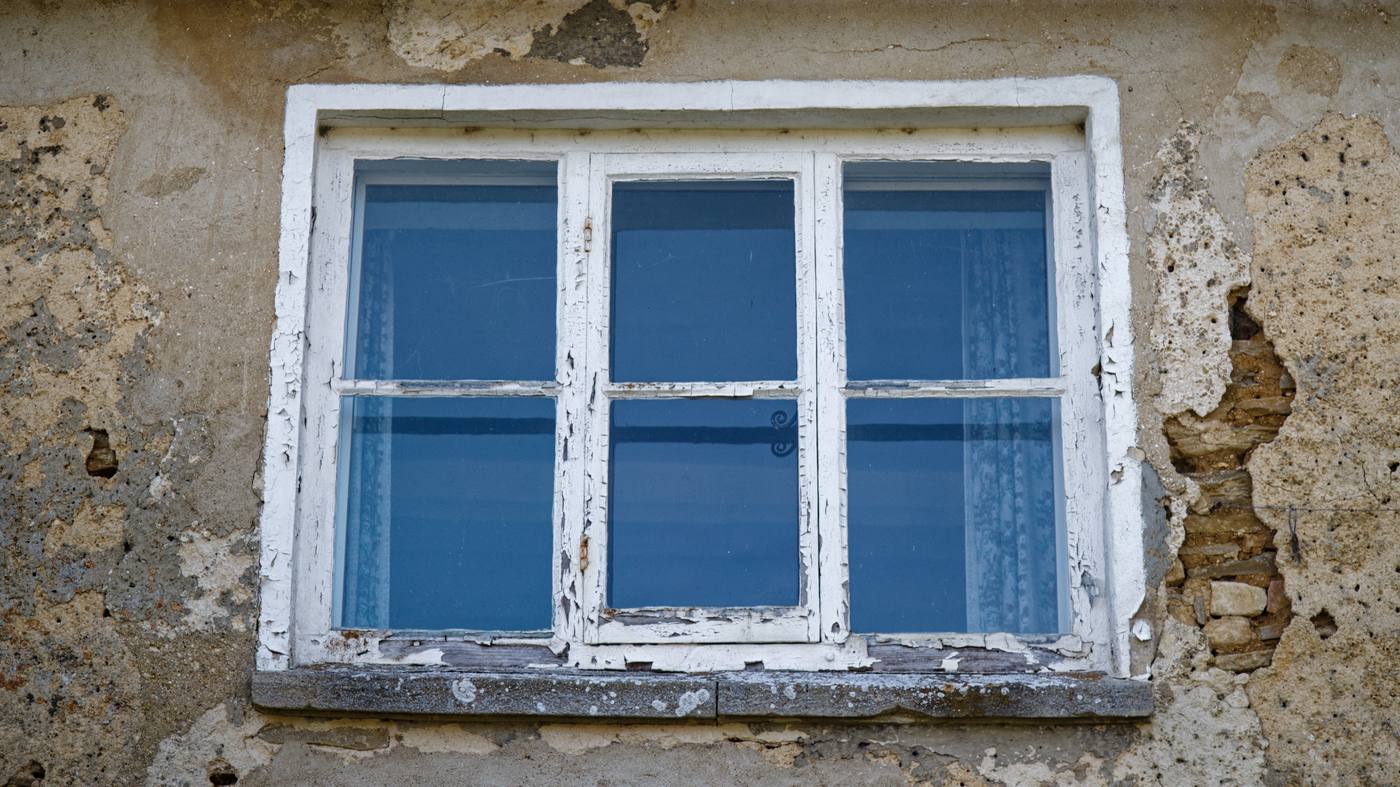
For the improved U-value of 0.30 W/m²K in Approved Document L, a typical solid wall needs roughly 65–75 mm of PIR plus plasterboard, roughly 90–100 mm of EPS, roughly 110 mm of mineral wool, or a deeper wood-fibre build-up, with finishes on top — so a finished internal lining commonly projects 90–140 mm into the room, more if a timber frame is used. A thinner system, such as 40–50 mm of PIR, will still make a room noticeably warmer, but it will not reach the 0.30 target and should be sold as a partial improvement, not as meeting the regulation target.
What that means in floor area is worth working out room by room. Take a double bedroom, 3.6 m by 3.0 m, with one external wall 3.6 m long insulated to a finished depth of 100 mm. The room loses 3.6 × 0.10 = 0.36 m², from 10.8 m² to 10.44 m², about 3.3%. Insulate two external walls in a corner room and the loss roughly doubles to about 0.66 m², around 6%, before skirting and pipe boxing — in a small box room, the difference between a usable room and a corridor, affecting furniture, door swings and radiators.
| Room (example) | Walls insulated | Depth | Area lost | Loss |
|---|---|---|---|---|
| Double bedroom 3.6 m × 3.0 m (10.8 m²) | One 3.6 m wall | 100 mm | 0.36 m² | ~3.3% |
| Same bedroom, corner room | Two walls (3.6 m + 3.0 m) | 100 mm | ~0.66 m² | ~6.1% |
| Same bedroom, thin PIR system | One 3.6 m wall | 70 mm | 0.25 m² | ~2.3% |
Approved Document L recognises this trade-off explicitly: a lower U-value than 0.30 may be acceptable where meeting the full target would reduce a room's floor area by more than 5%, reduce headroom, or cause problems with adjoining floor levels. That 5% allowance is permission to use a thinner system in a genuinely constrained room, not a general excuse to fit a thin system everywhere; building control will expect the constraint to be real. Measure every room, apply the 5% test room by room, and keep the calculation with the building-control paperwork.
How do I detail the tricky junctions — window reveals, skirting, floor/wall and ceiling/wall junctions, sockets and pipes — so they do not become cold bridges or condensation points?
Junctions are where internal wall insulation succeeds or fails, because heat and moisture do not respect the neat rectangle of a board. Every place where the insulated wall meets something else is a potential cold bridge — a path where heat escapes faster and the surface stays colder — and a potential condensation point. The junctions to detail, in order of trouble, are window and door reveals, the floor/wall junction, the ceiling/wall junction, and every penetration for sockets, switches, pipes and fixings.
Window reveals deserve the most care, because they are the thinnest, coldest and most visible part of the job. If the main wall is insulated to 100 mm but the reveal is left bare, it stays cold, attracts condensation and mould, and undermines the room's improvement. The standard answer is to return insulation into the reveal as far as the frame and light allow, even if it must be thinner there — an aerogel blanket or thin PIR strip is often used for exactly this reason — and to seal the reveal-to-frame junction continuously. Expect some loss of light and a deeper reveal; a reveal that looks untouched after insulation usually was not insulated. Check the window itself too: insulating a wall next to a single-glazed, draughty sash leaves the coldest surface exactly where condensation will form. At the floor, skirting comes off and goes back onto the new lining, radiators move onto the new surface, and the lining-to-floor junction must be sealed so moist air cannot travel behind the boards. Where timber joists are embedded in the external wall, their ends sit in the coldest masonry after insulation — a known rot risk — so the detail must be designed, not discovered. At the ceiling, the lining should seal against the ceiling so no gap lets air bypass the insulation. For sockets and pipes, every box needs a sealed, airtight backing, every penetration a grommet or sealant, and heavy fixings need planned fixing points into the masonry, because a fixing drilled casually through a vapour barrier is a hole in the barrier. Photograph each junction before it is closed up.
Building regulations approval, competent-person self-certification, listed-building consent — and when does insulating over 50% of a wall trigger a whole-wall upgrade?
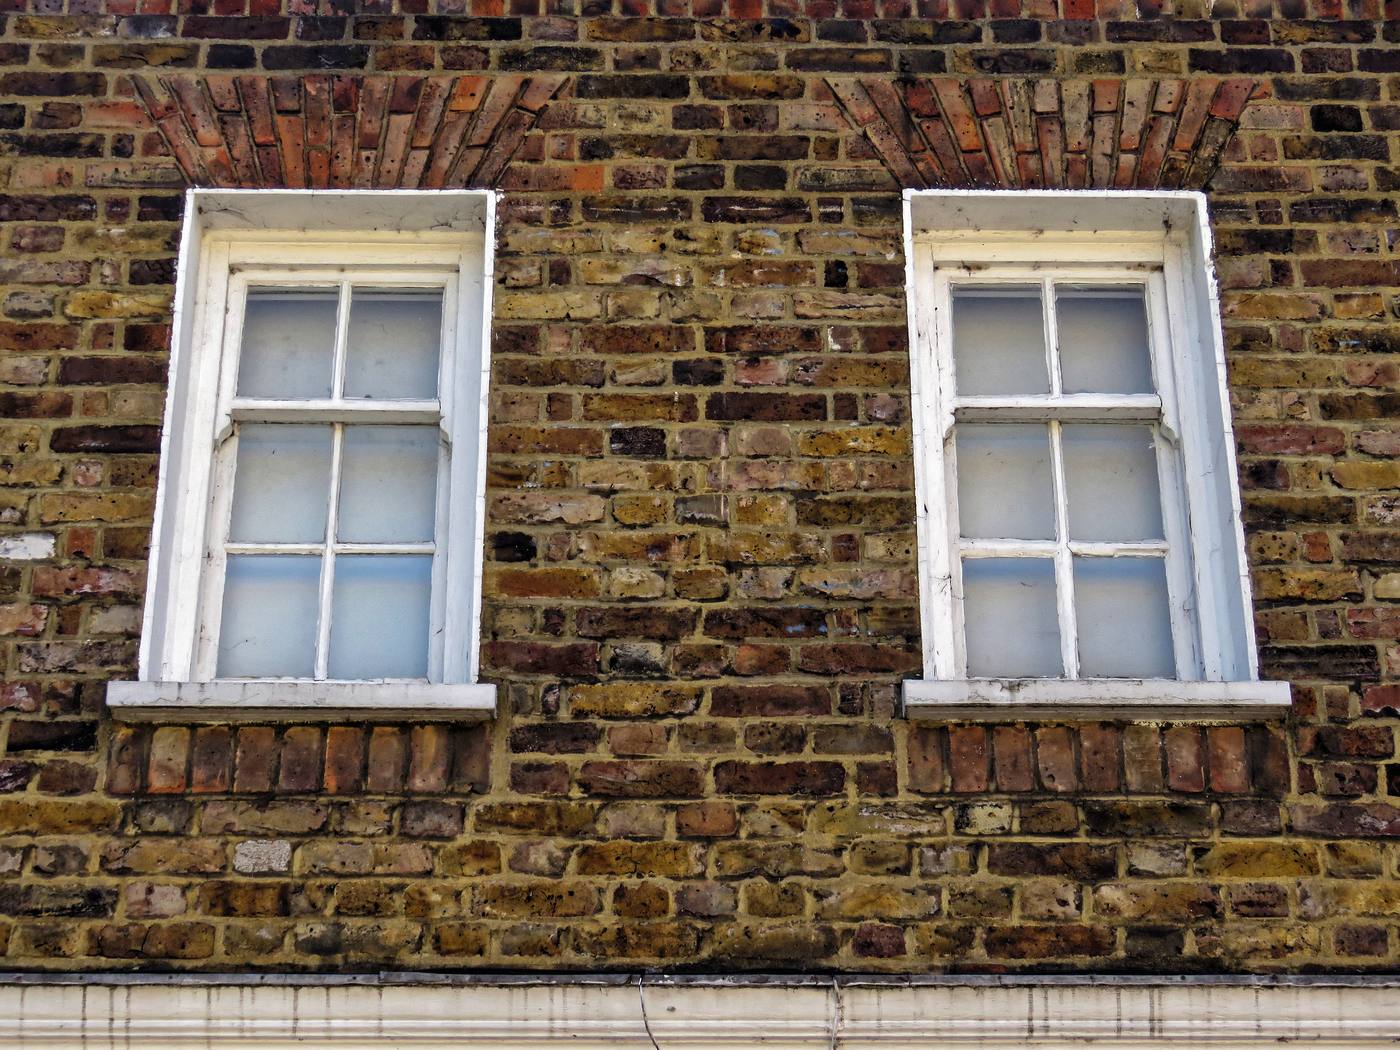
Internal wall insulation is building work, and in England it falls under the Building Regulations even though it does not change the outside of the building. The usual routes are a building notice or full plans application to local authority building control, or installation by an installer registered with a competent-person scheme who can self-certify the work, notify building control on your behalf, and issue a certificate to keep with the house records. Self-certification is a convenience, not a lower standard: the work must still meet the same requirements. Agree the route before work starts, and confirm who will provide the completion certificate.
The trigger that surprises most homeowners is the 50% rule. Where the renovation of an individual thermal element — here, a wall — amounts to more than 50% of that element's surface area, or where a major renovation covers more than 25% of the whole building envelope, the whole element must be upgraded to the improved U-value so far as that is technically, functionally and economically feasible. Approved Document L's worked examples measure the element from the inside for internal work: strip the plaster from most of one bedroom's external wall and that wall should be insulated, not just re-plastered. Listed-building consent is separate and stricter: Historic England's position, widely repeated by local authorities, is that listed building consent is almost always needed for internal wall insulation in a listed building, because it affects historic fabric, plaster, joinery and interior character, even though nothing changes outside. Our companion guide on listed-building renovation consent explains the application and timescales; do not order materials or book installers before consent is settled, because an unauthorised system in a listed building can have to come out. Wales, Scotland and Northern Ireland have their own regulations, so the figures and routes here are for England unless stated otherwise.

What happens to ventilation and heating after insulating — do I need MORE ventilation, not less, and how does this interact with MVHR?
Insulating makes a home more airtight, and that is precisely why ventilation must improve, not relax. Before insulation, uncontrolled draughts through gaps in the lining and around floorboards provided a crude, wasteful form of ventilation: they let moist air out, at the cost of heat. After a well-sealed lining, those draughts are reduced, so moisture from cooking, bathing, breathing and drying clothes has fewer escape routes. If ventilation is not upgraded at the same time, indoor humidity rises, surface condensation appears on the remaining cold spots, and interstitial condensation risk in the new build-up rises with it. The CSE's warning on the vapour-barrier route makes the same point: it will most likely require a ventilation upgrade.
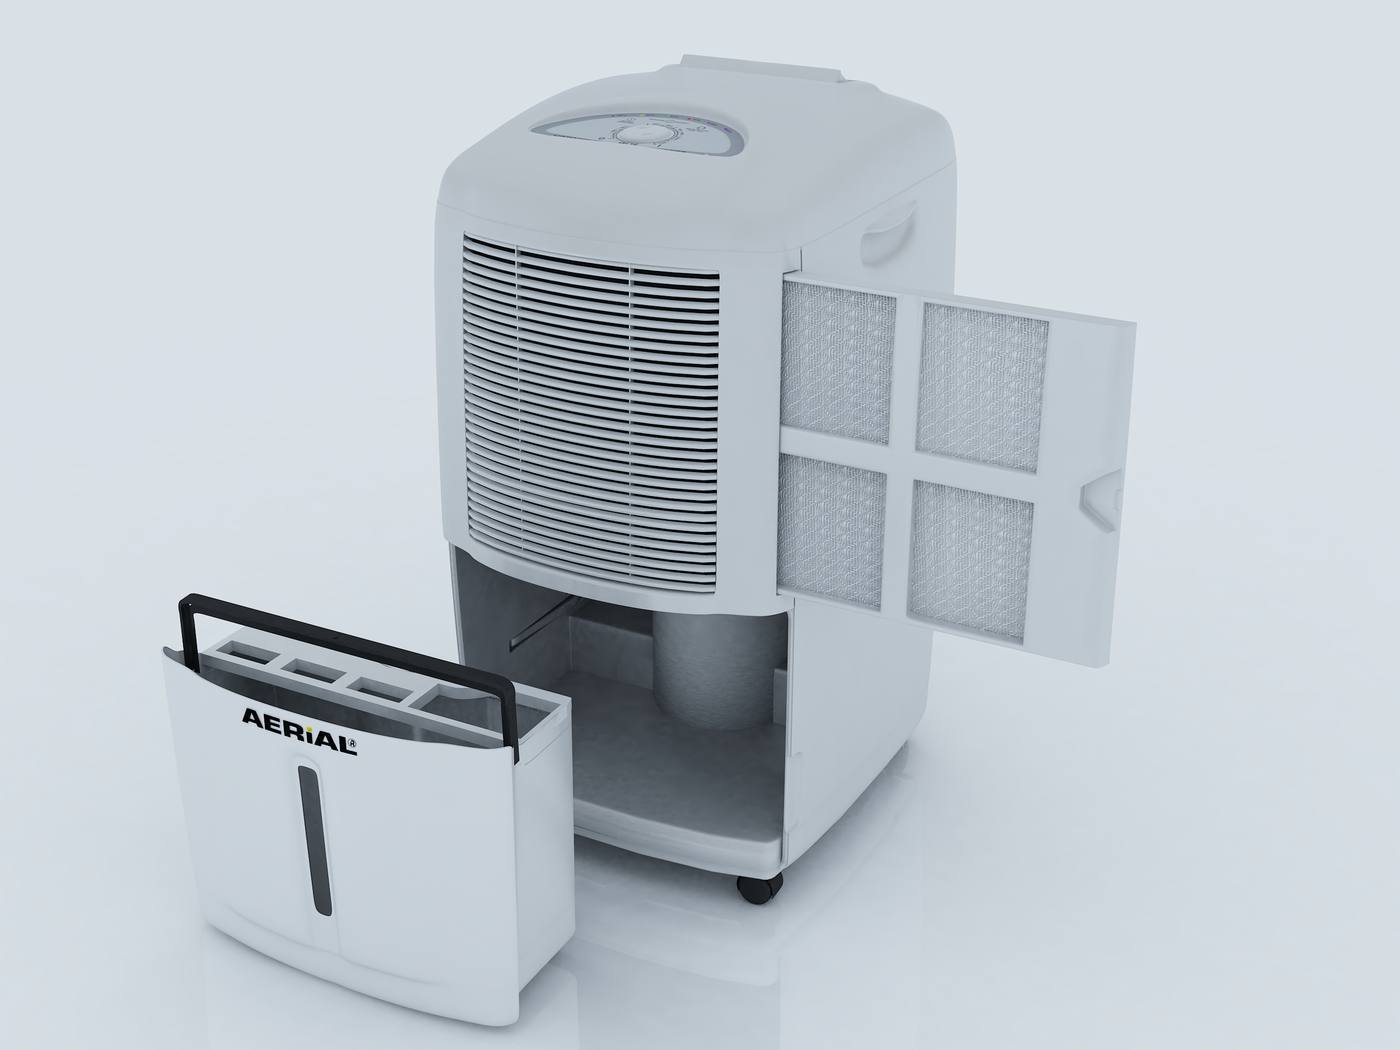
What "more ventilation" means depends on the house. At minimum, it means working extract fans in kitchens and bathrooms, trickle vents that are not painted shut, and ventilating wet rooms after use — without blocking permanent ventilators during draught-proofing. In many insulated homes it means a planned system: continuous mechanical extract ventilation, humidity-controlled extract fans, or, in a whole-house retrofit, mechanical ventilation with heat recovery (MVHR), which extracts stale, moist air and supplies fresh air while recovering heat from the outgoing stream. Our guide to MVHR, mechanical ventilation with heat recovery, explains sizing, ducting and running costs. Heating changes too, usually for the better: an insulated room warms faster, holds heat longer and needs less radiator output, which also helps a future heat pump work efficiently at lower flow temperatures. But do not heat one room intensely while leaving the rest cold, because the temperature difference drives condensation at the boundary; keep the house at a reasonably even, steady temperature through the heating season. Insulation saves energy; it does not replace heating or ventilation.
How much does it cost per room and per house, what are realistic bill savings, and what is the payback logic (not a promise)?
Costs vary with house size, system and how much joinery must move, so treat any single figure as a benchmark, not a quote. The most widely cited benchmark, from the Energy Saving Trust via the CSE, is around £12,000 for internal solid wall insulation in an average three-bedroom semi-detached house, against around £15,000 for external insulation on the same house type. Older Energy Saving Trust figures quoted by other guides put internal work at around £7,500 for a three-bedroom semi; the spread reflects different years, systems and scopes, which is itself a warning: always compare quotes on the same scope, including reveals, skirting, radiators, sockets, redecoration and ventilation, because a quote that omits those is not comparable with one that includes them.
Per room, installer and supplier guides commonly use a rule of around £100 per square metre for solid wall insulation, so a room with 12 m² of external wall might cost roughly £1,200 for the insulation system alone, before joinery, electrics and redecoration. A breathable wood-fibre and lime system will usually cost more per square metre than PIR, because materials and skilled lime labour cost more; a thin aerogel reveal detail costs disproportionately more per square metre than the main wall, and should be priced as a detail, not averaged away.
Bill savings, on the same CSE and Energy Saving Trust figures, are in the region of £330 a year for a gas-heated three-bedroom semi and around £550 a year for a detached house, with mid-terraces lower. Divide £12,000 by £330 and simple payback is over 36 years — longer than many owners will stay. That is not a reason to dismiss the work; it is a reason to judge it honestly. The return also includes a warmer, usable room in winter, fewer condensation problems, a better energy rating, and the avoided cost of doing the same work later during a planned renovation. It also includes carbon: the same figures imply roughly 1.8 tonnes of CO₂ saved a year for internal insulation on a typical house, a figure that belongs in any whole-house carbon account, as discussed in our guide to carbon budgets for buildings. Be wary of any seller who promises a short payback on bill savings alone, and never let a grant's approved system override the moisture assessment for your wall.
Warning signs after installation that something is wrong (mould behind furniture, musty smell, salt staining, peeling finishes)?
After installation, the wall will not tell you immediately whether it is working; the signs arrive over the first one or two heating seasons, and they are worth checking for deliberately. The earliest and most common sign is mould or dark spotting behind furniture pushed tight against the newly insulated wall, especially in corners and behind wardrobes, where still air lets a surface cool and condense. A musty smell in a room that did not smell before, particularly after a wet or cold spell, is a second sign, and it should not be masked with air freshener while the cause is investigated. Salt staining — white, fluffy or crystalline deposits — suggests moisture moving through the masonry and bringing soluble salts with it, and peeling, bubbling or blistering finishes suggest moisture trapped behind paint or plaster rather than drying through it.
Less obvious signs matter too: plaster that sounds hollow when tapped, skirting that swells or pulls away, a socket plate that feels damp or shows staining, and a room that feels clammy despite the heating being on. Timber is the silent casualty: joist ends and embedded timbers can rot without any surface sign until damage is advanced, which is why pre-installation photographs and a surveyor's check on joist ends matter so much. If any sign appears, do not simply redecorate over it: get the installer and, if needed, an independent surveyor back, check humidity and ventilation first, and inspect behind a small, repairable opening if the surveyor advises it. Early, small openings are cheap; a wall left wet for two winters is not. Surface mould on the room-side face usually points to surface condensation — humidity, ventilation and heating balance — while staining through the finish or persistent wetness after dry weather points deeper, towards water in the masonry or interstitial condensation, and needs a fabric investigation.
Lower-risk first steps if full insulation is too risky or too expensive (draught-proofing, secondary glazing, insulating only non-significant rooms, loft and floor first)?
If full insulation is too risky, too expensive or too disruptive right now, sequence the work so that cheap, low-risk measures come first. Start with draught-proofing windows and doors, sealing obvious gaps around floorboards and service penetrations without blocking permanent ventilators, and fitting secondary glazing where original windows must be kept, which cuts draughts and surface condensation without altering the facade. These measures are reversible, cheap relative to wall insulation, and they improve comfort immediately.
Next, in whole-house order, tackle the roof and floor before the walls. Loft insulation is usually the cheapest heat-saving measure per pound in an uninsulated house, and it does not carry the moisture risks of wall insulation; our companion loft conversion handbook covers the sequencing and ventilation questions that arise when the roof space is in play. Floor insulation reduces the cold-floor draughts that make an insulated wall feel less effective, and it should be planned with the wall junction in mind so the two systems meet rather than leaving a gap at skirting level. Doing loft and floor first also gives a baseline: if the house is still cold and damp afterwards, the case for wall insulation is stronger and ventilation can be sized for the whole house, not improvised room by room. Finally, consider partial wall insulation as a deliberate, designed step rather than an accident: insulating only non-significant rooms — a modern extension, a utility room, a rear addition without historic features — lets you learn how a system behaves in your house with lower heritage risk, while listed or significant rooms await consent and a breathable specification. A single-room trial is defensible only if junctions to uninsulated rooms are detailed and the room is monitored through a heating season. Before any of this, read the companion guides that frame the decision: our guide to home damp, condensation and mould design fixes for diagnosing moisture, and our listed-building renovation consent guide if your home is listed or in a conservation area. The cheapest safe step is the survey and the repair list; everything else follows from them.
Frequently asked questions
Will internal wall insulation cause damp?
It can, if it is fitted over a wet wall, if a vapour barrier has unsealed gaps, or if ventilation is not improved — interstitial condensation then forms hidden inside the wall build-up.
Should I choose breathable wood fibre or PIR board?
Breathable wood fibre and lime suit traditional lime-built walls that need to dry; PIR suits dry, modern walls and tight spaces, but only if every joint and socket penetration is sealed continuously.
How much room space does internal insulation take?
A typical finished build-up projects 90–140 mm into the room, and Approved Document L allows a lower U-value where the full target would cut a room's floor area by more than 5%.
Evidence and source notes
Related architecture stories
- Carbon Budgets for Buildings: How Architects Set a CO₂ Target and Hit It
A carbon budget treats a building's CO2 like its construction budget: fixed early, tracked relentlessly, and defended against every design change. How architects set the number, calculate it, and hit it.
- Low-Carbon Concrete: 7 EPD Checks for Architects
A low number is useful only when its boundary is clear. This seven-check method helps architects compare concrete EPDs fairly and carry a carbon target from concept to delivery.
- Loft Conversion Handbook: Types, Headroom, Stairs, Planning and Costs
Most UK pitched-roof houses can gain a loft room, but only when ridge height, roof structure and a compliant stair all line up at once.
📌 Never miss a story — add World Arch Journal as your preferred source on Google: https://www.google.com/preferences/source?q=worldarchjournal.com